Pumpkins are one of the most popular and widely used winter squash vegetables. You must be making a lot of recipes using pumpkins, right? Not only for cooking recipes but pumpkins are also used for baking, making pumpkin butter, and more.
But they are only available for a particular time of the year. You will not find them around the year in markets. Pumpkins also do not last very long in the refrigerator. So, can you store pumpkins for later use? Yes, you can store pumpkins for later. But how to store them?
How Can You Store Pumpkin?
Pumpkins can be stored either by freezing or canning. Both of these methods work well in preserving the pumpkins for longer. We will be talking about canning the pumpkins for storage in a pressure canner. Pumpkins can only be canned using this canning method.
However, if you do not have a pressure canner at home, you can go with freezing the pumpkins for later use. If you are canning pumpkins at home, you know that you have a wide range of baking and cooking choices with home-canned pumpkin cubes. Read on to know more about pumpkin canning.
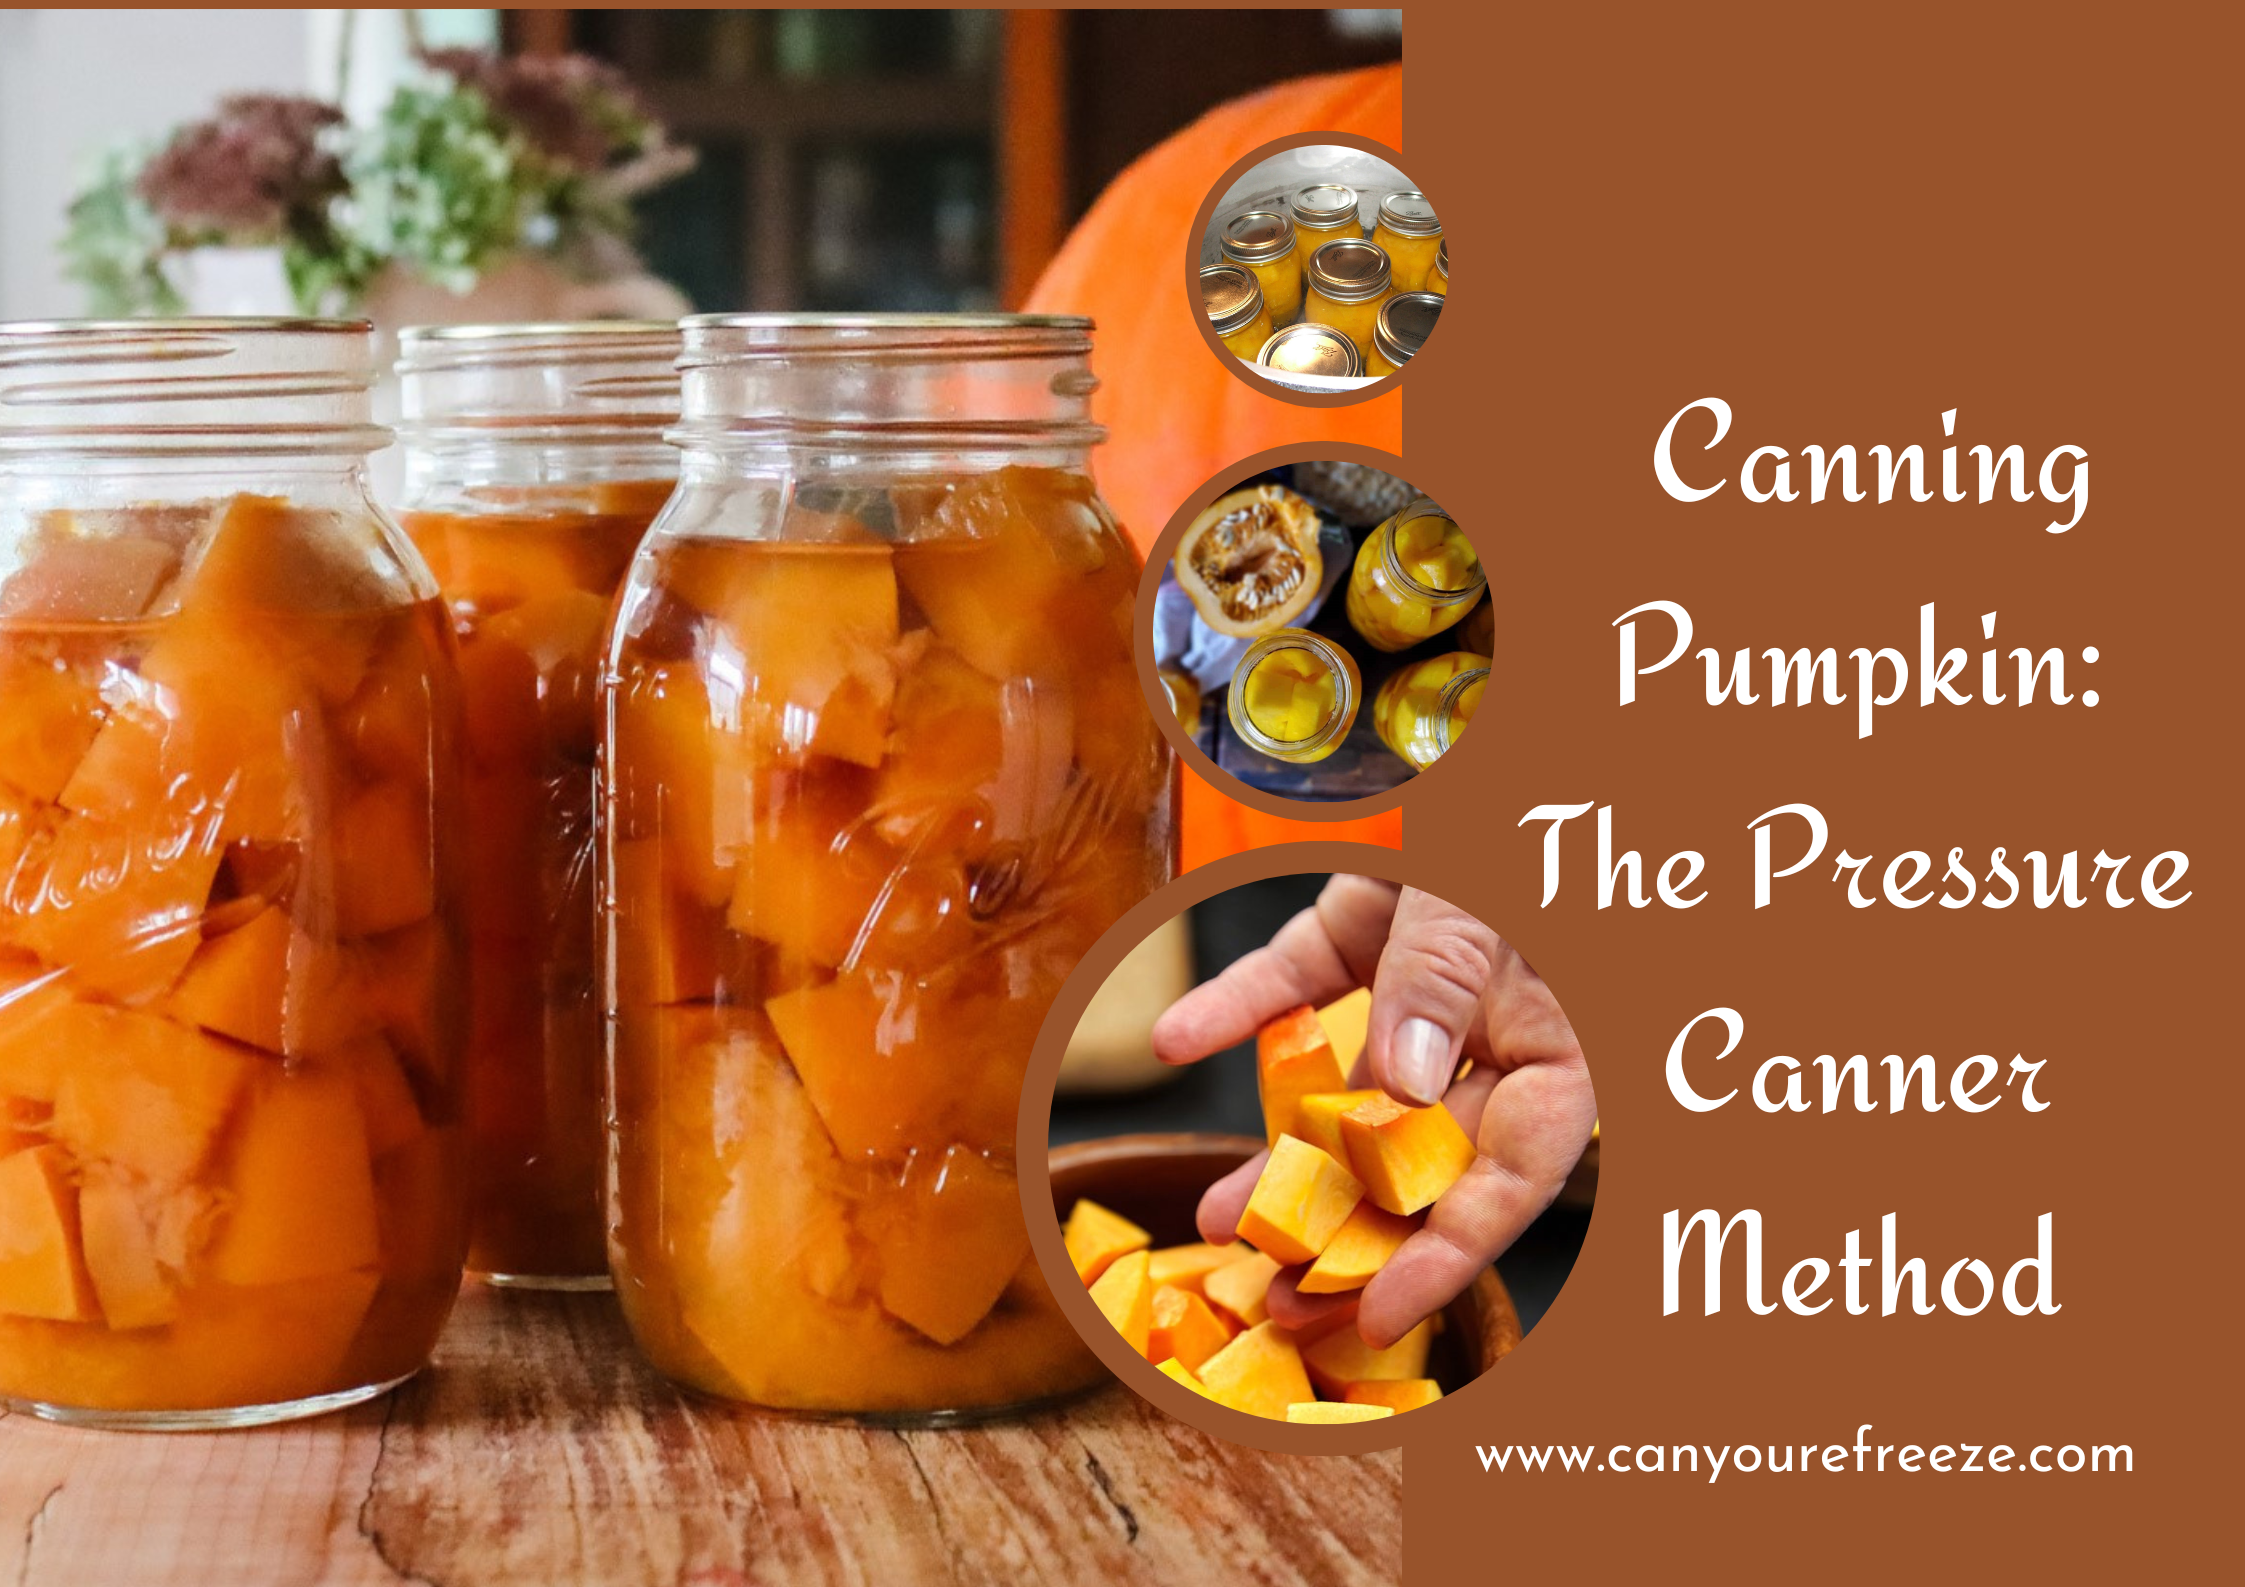
Canning The Pumpkins
Preserving the pumpkins through pressure canning might seem easy, but can be tricky. This is because a slight misappropriation in the canning procedure might lead to major changes in the canned pumpkins. Therefore, you need to be specific while canning the pumpkin.
Using the pressure canner as a beginner might seem difficult, but if you strictly follow the instructions and canning processes, canning the pumpkins will be easy. You must be wondering why a pumpkin can be canned only in a pressure canner, right? This is because pumpkin is a low-acid food and needs high temperatures for preservation.
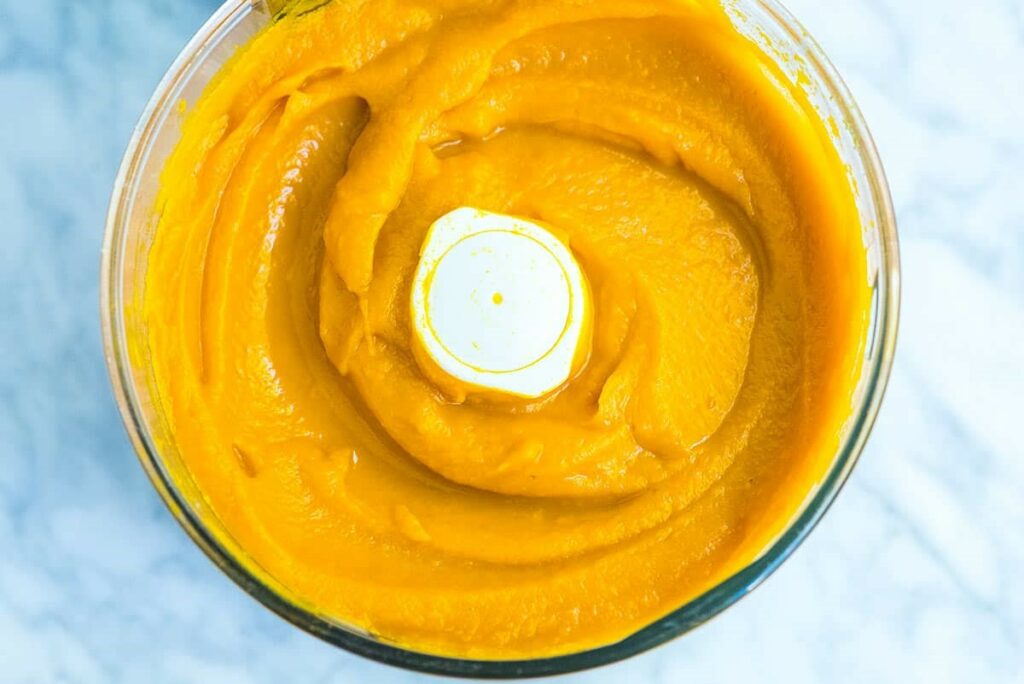
How To Make Pumpkin Puree?
Pumpkins can be pureed in many ways. Homemade pumpkin puree is always the best and safest to eat because they are free of added preservatives and artificial colors. We will be talking about the most basic method to make pumpkin puree here. Check out the steps below.
- Wash the pumpkin in cold water and cut it in halves with a sharp knife. Remove the stem carefully and peel the pumpkin.
- Remove the pumpkin seeds with a spoon and chop the pumpkin into cubes or slices. You can also chop the pumpkin into smaller pieces.
- Take a large pot and fill it with water. Bring the water to a boil and add the chopped pumpkin. You can also steam the pumpkin in a steamer.
- Let the pumpkin cook for about 10 minutes. This will be enough to soften the pumpkin cubes.
- Let the pumpkin pieces cool. Drain the pumpkin using a strainer and blend them. And that’s all, your pumpkin puree is ready.
Steps For Canning Pumpkin
You can preserve both pumpkin cubes and pumpkin puree by canning. The process of canning pumpkin is easy but needs to be followed carefully, otherwise, the texture of the pumpkin might degrade and there might also be a loss of flavor. Check out the detailed step-by-step approach to canning the pumpkin below.
Preparing The Canning Supplies
For canning the pumpkin, you will need the following canning supplies.
- 2 large saucepans
- Canning jars- pint jars or quart jars
- Jar lids and bands
- Canning funnel and ladle
- Pressure canner
- Jar lifter or tongs
Make sure you use specific canning supplies for preserving the pumpkins because this is an important step in canning. Inadequate canning supplies will not store the pumpkins properly. It is also crucial to use clean and sanitized canning supplies to prevent the growth of bacteria and other microorganisms.
Preparing The Canning Jars, Lids, And Bands
Check for cracks and nicks in the canning jars. Take a large saucepan and fill it with water. Place the saucepan on the stove and bring it to a boil. Once the water is hot enough submerge the glass jars and let them boil for about 10 minutes.
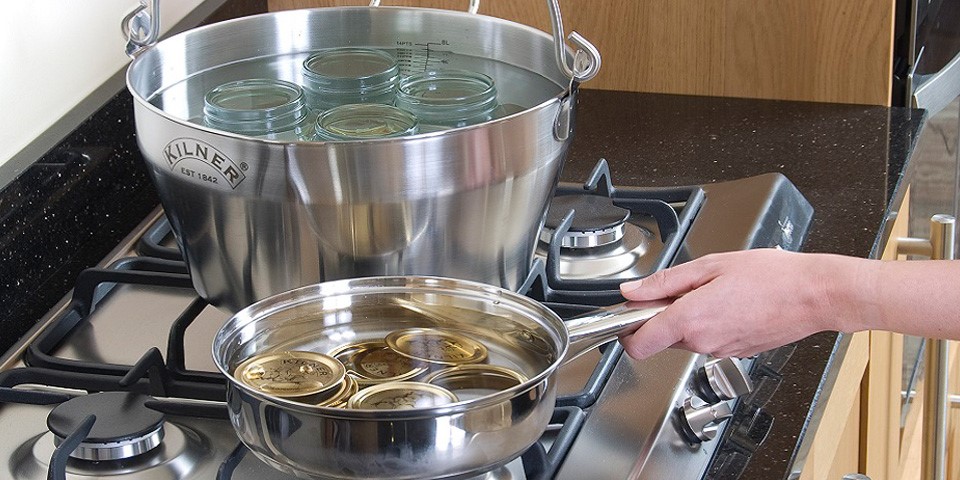
This will be enough to sterilize the jars. Turn off the heat after 10 minutes and let the jars stay warm. Do the same with the jar lids and the bands. Note that you can reuse old glass jars for the purpose, but stick to using new jar lids and bands.
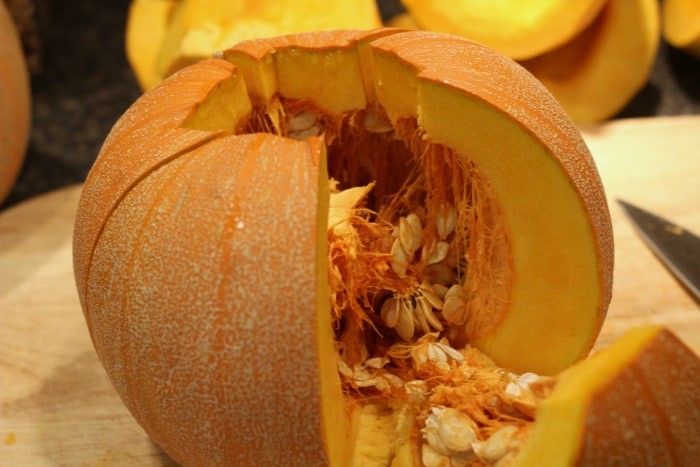
Preparing The Pumpkins
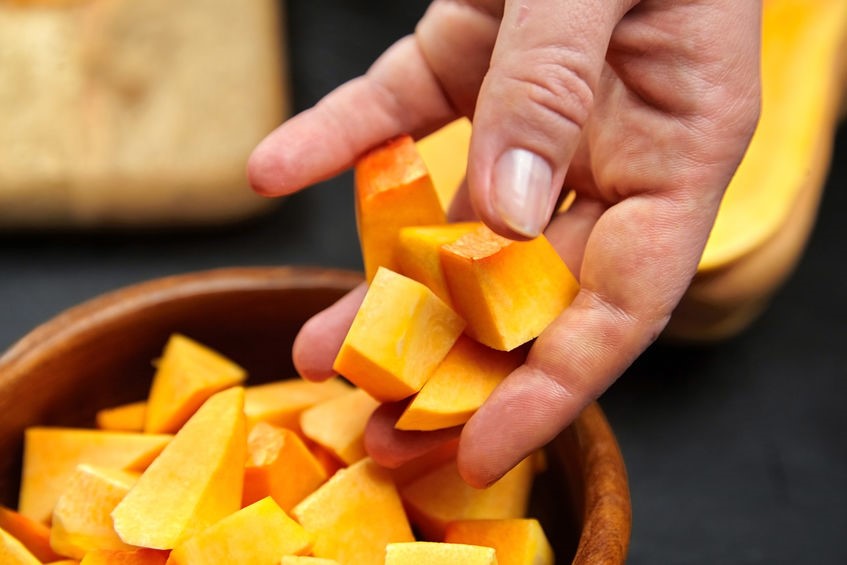
Wash the pumpkins properly under running water and drain them. Take a sharp knife to remove the pumpkin stem and cut it into halves. It is essential to remove the pumpkin innards, especially the seeds. You can do that with a spoon.
Next, peel off the skin, and dice or slice the pumpkin. If you want to can pumpkin puree, then cut it into small pieces and process them in a blender to make the puree. Pumpkins are hard, so you will need to microwave the diced pumpkins for about a minute to make them softer.
Bring water to a boil in a large saucepan and add the chunks of the pumpkin. Cook for about 2-3 minutes and turn off the heat. Keep them warm for some time. This will soften the pumpkin pieces sufficiently for canning.
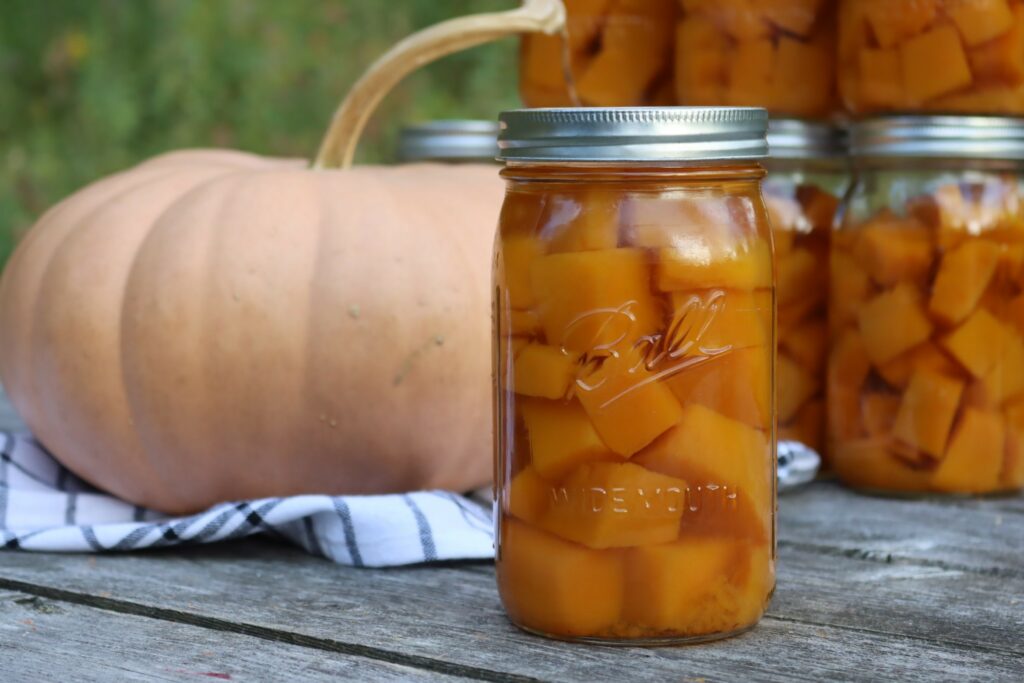
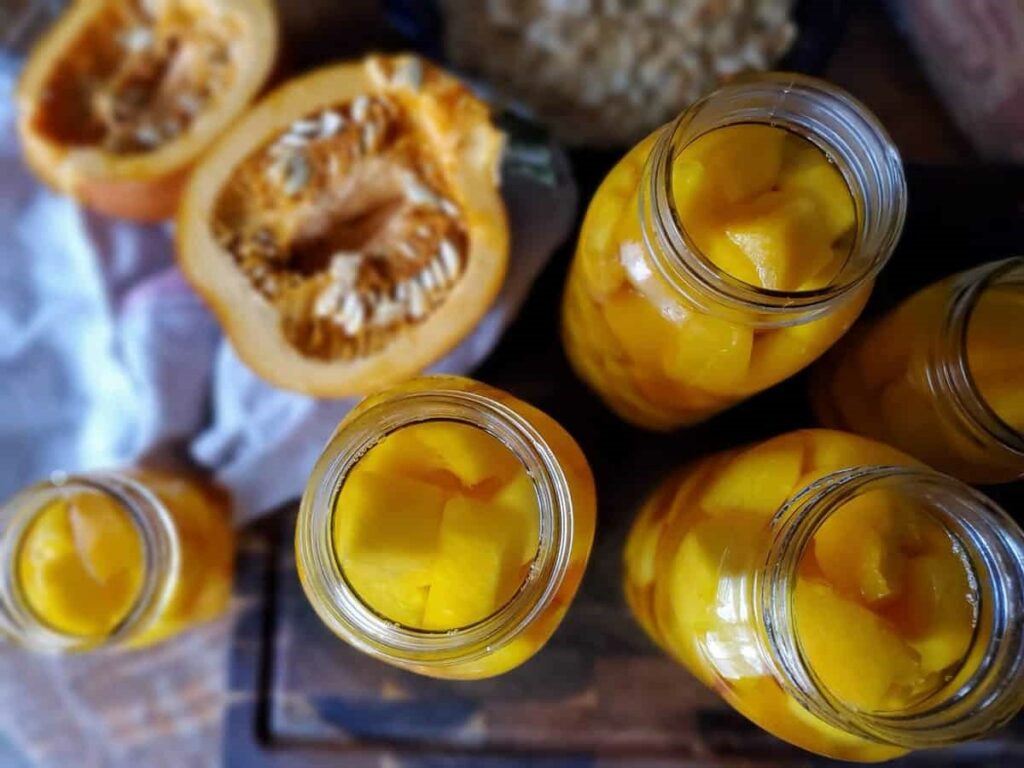
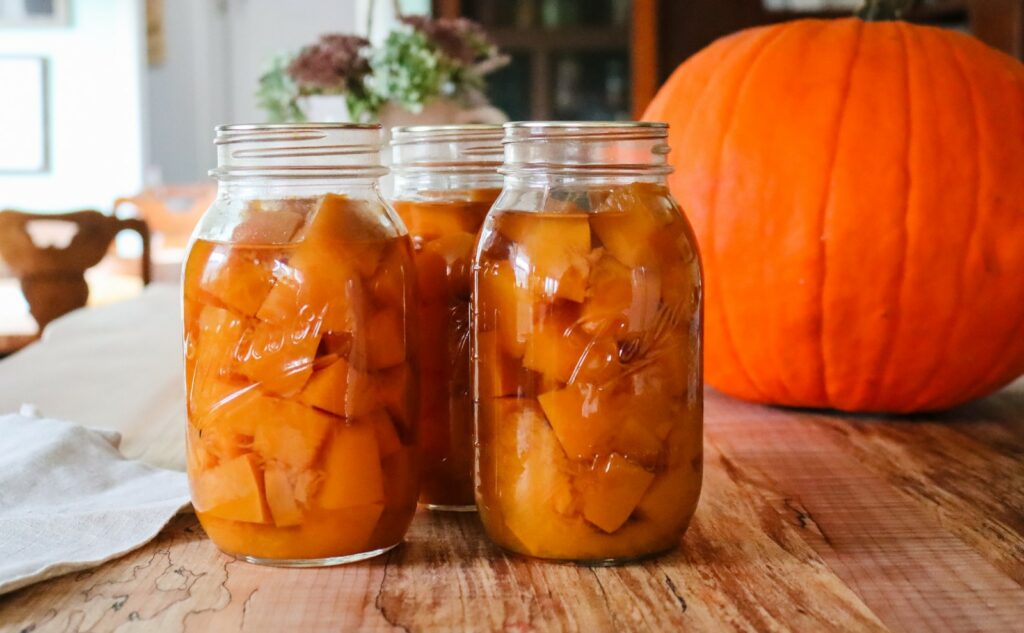
Filling The jars
Remove the jars and other supplies from the water. Drain and rinse the jars adequately, and place them on a towel to dry. Once the jars are dry enough, take a ladle and carefully place the diced or sliced pumpkins into the jars.
Use the hot water from boiling the pumpkin chunks and pour it over the pumpkins to fill the jars. This hot water will act as the preserving liquid to store the pumpkins for longer. Make sure you do not fill the jars completely, leaving about an inch of headspace.
Use a clean towel to wipe off the rim of the jars of any extra liquid. Seal the jars with the jar lids and bands. The next step is to process the filled jars in a pressure canner. This is the most crucial step in canning pumpkins and therefore needs to be done carefully.
Pressure Canning Pumpkin
The process of pressure canning is different from the water bath canning method. It is essential to follow the steps cautiously while using the pressure canner, otherwise, you might end up spoiling the food you are canning.
Pumpkins cannot be canned using the water bath canning method. This is because pumpkins are thick and the water bath method is not sufficient to kill the botulism spores and store the pumpkins for longer. You will need to use a pressure canner to preserve the pumpkins. However, if you are canning pumpkin puree, you can use the water bath canner because they are blended and thus softer than pumpkin chunks.
Steps For Pressure Canning
Now that you know, you can only preserve pumpkins in a pressure canner, check out the steps below to use the pressure canning method to preserve pumpkins in canning jars.
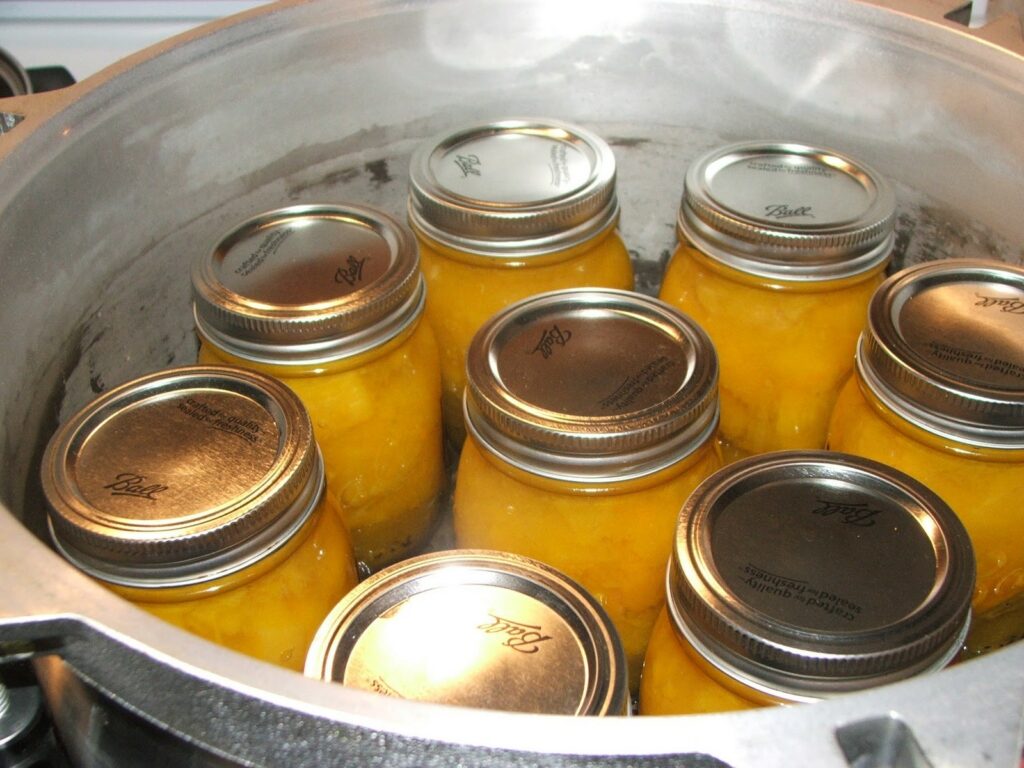
- You already have ready-filled jars with pumpkin chunks. Now use a jar lifter and place the filled jars carefully into the canner. Close the lid of the canner securely and turn on the heat. You will notice steam coming through. Let this happen for about 10 minutes.
- Take the pressure regulator and fasten it to the top of the canner. This will stop the steam and build pressure in the canner. The heat from the pressure will further seal the pumpkin jars and preserve the contents inside.
- If you are using pint jars, you will have to pressure can the pumpkins for about 55-60 minutes. And, if you are using quart jars, you will have to do the same for about 90 minutes. The timing in the canner differs because of the varying sizes of the jars.
- In between the pressure canning process, you will often need to adjust the heat. Read the instructions on using the pressure canner for this. Once the jars have been pressure canned for the stipulated time, turn off the heat.
- After some time, carefully take off the pressure regulator and remove the lid. Let the jars sit in the canner for 5 minutes. Then use the jar lifter or tongs, and take out the pumpkin jars. Let them sit at the counter for about 10-12 hours.
After the jars have cooled down completely, check the seal. And your pumpkins are ready to be canned for about 12 months.
Tips For Canning Pumpkins
You are now well aware of the process of canning pumpkins. Check out the below-mentioned tips to get the best results upon canning pumpkins.
- Cut the pumpkin into about 1-inch-sized cubes. Do not cut them too large or too small. This will be beneficial to soften the pumpkins and will not take much time.
- If you want, you can add spices or salt to the jars depending on the later use of the pumpkins. This will enhance the taste of the canned pumpkins.
- While removing the pumpkin seeds, make sure to remove them whole as you can use the pumpkin seeds in other ways.
- It is better to store the pumpkins in small jars as this will be beneficial while using canned pumpkins. Also, this way you can store them longer.
- If your pumpkin jars are not sealed adequately in the pressure canner, you can place them in the refrigerator or freezer for some time to seal the jars sufficiently.
Ways To Use Home Canned Pumpkin
You can use home-canned pumpkins in many possible ways. They can be used in cooking recipes, baking recipes, or processed further. Check out a few ways to use home-canned pumpkins below.
- Pumpkin muffins
- Pumpkin bread
- Pumpkin spice cookies
- Baked pumpkins
- Pumpkin puree and more
Summing it up, that was all about canning the pumpkins. Now, you know all the details about preserving pumpkins as food storage. So, the next time you want to store your pumpkins for longer, you know what to do!