Best Canning Kits For Beginners! And Other Canning Supplies!

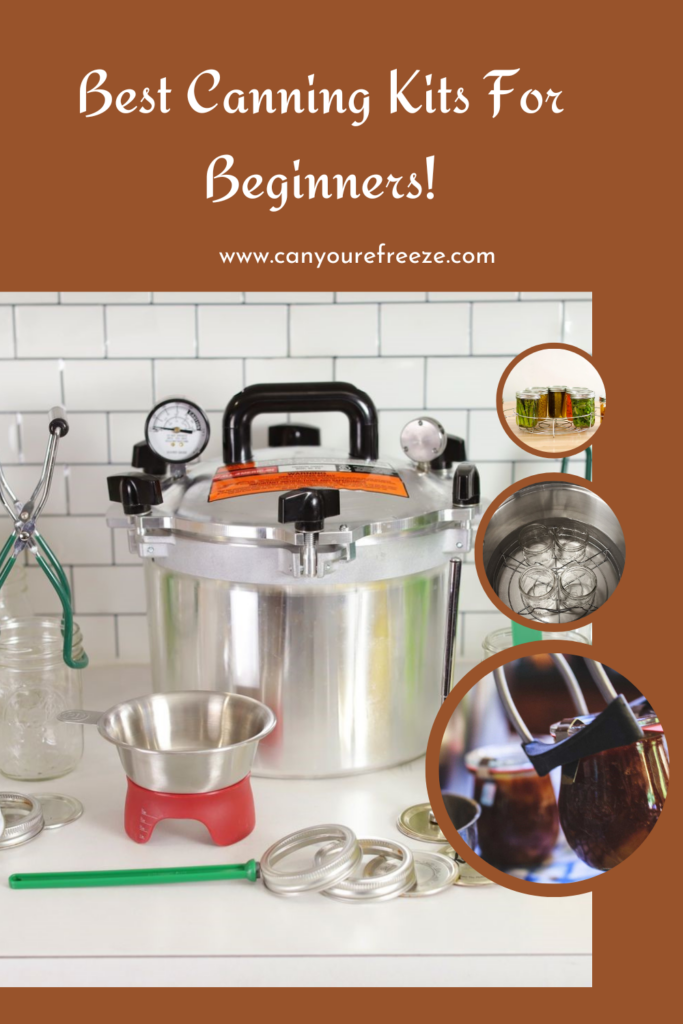
What Canning Method Is Best For A Beginner?

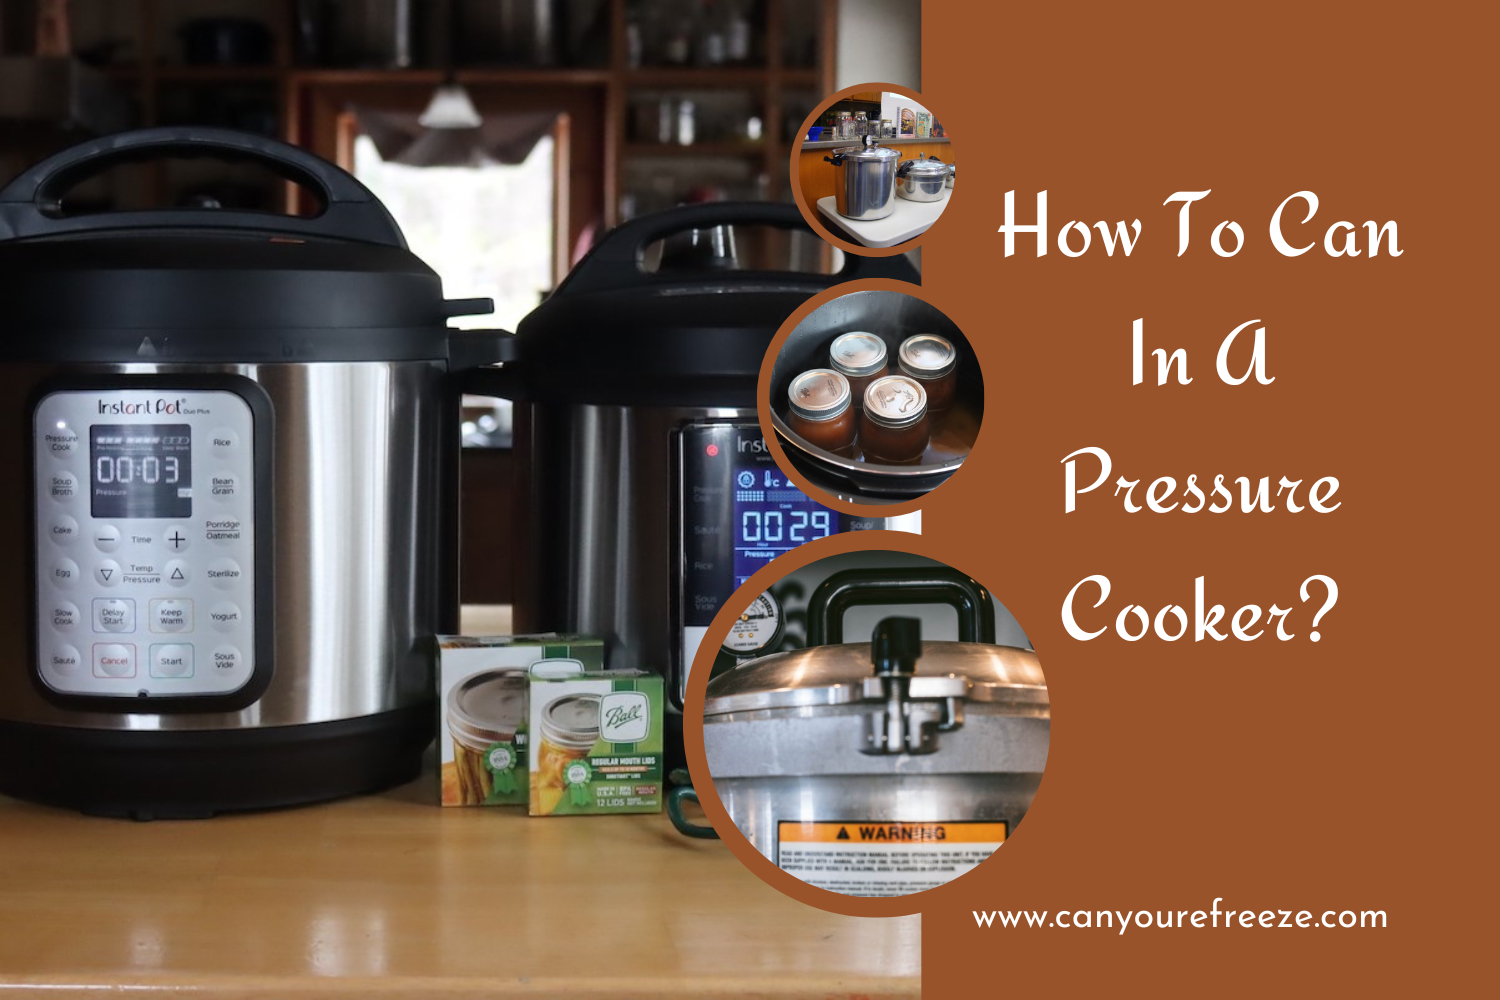
As a beginner, you should start with a water bath canner, and avoid a pressure canner. This is because a water bath canner functions faster is easier to use, and is less complicated. On the other hand, using a pressure canner is complex.

What Canning Method Is Best For A Beginner

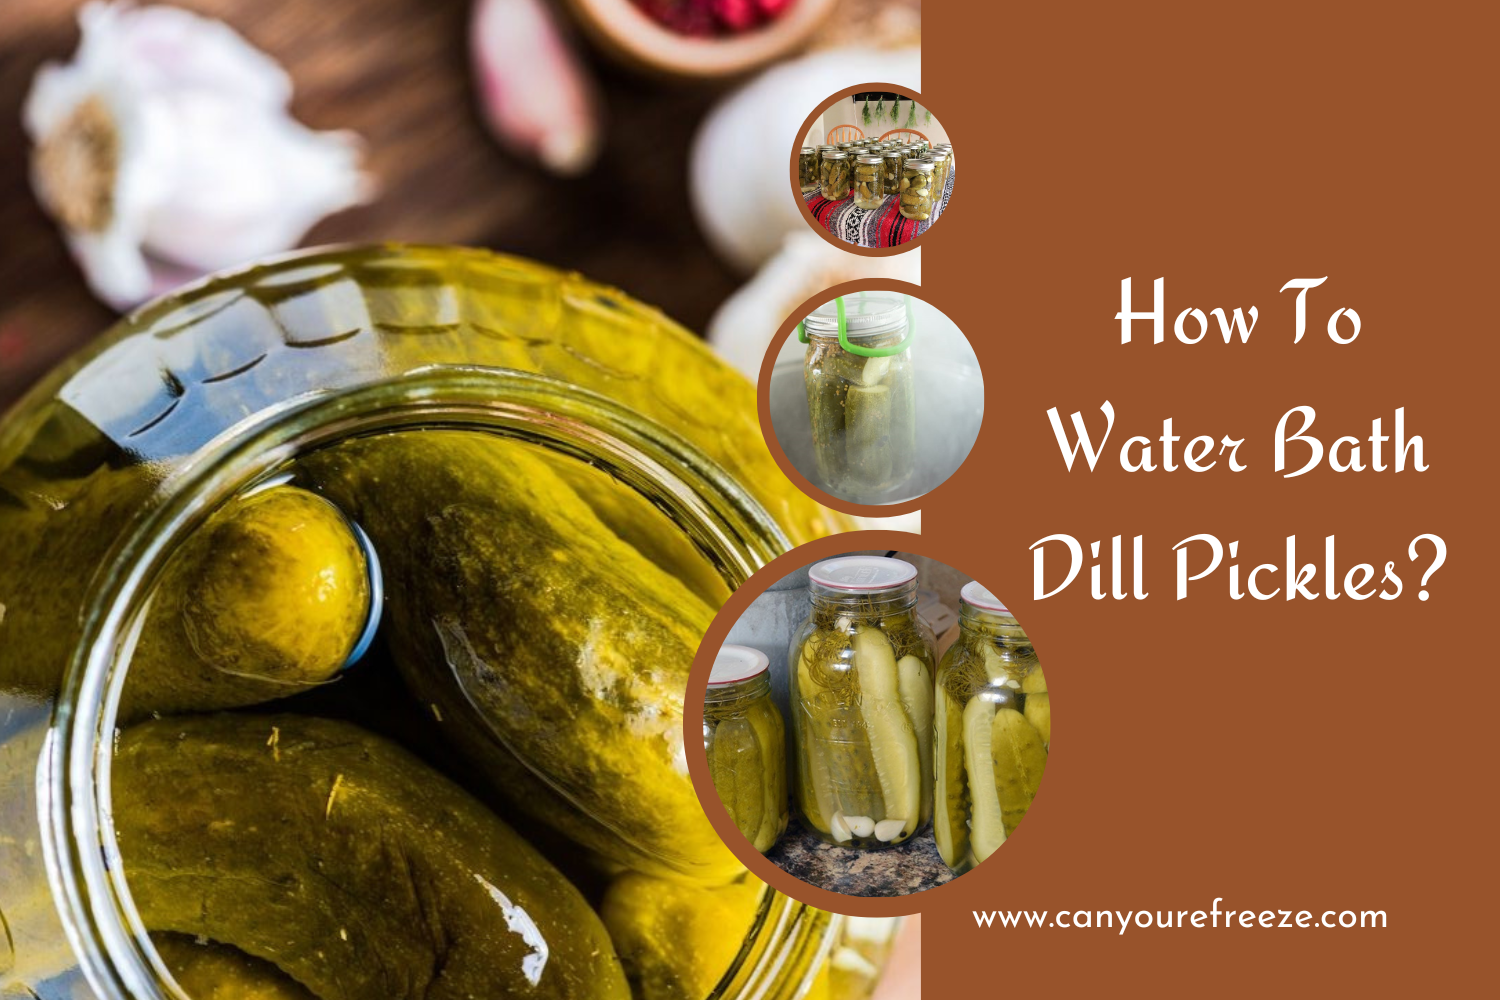
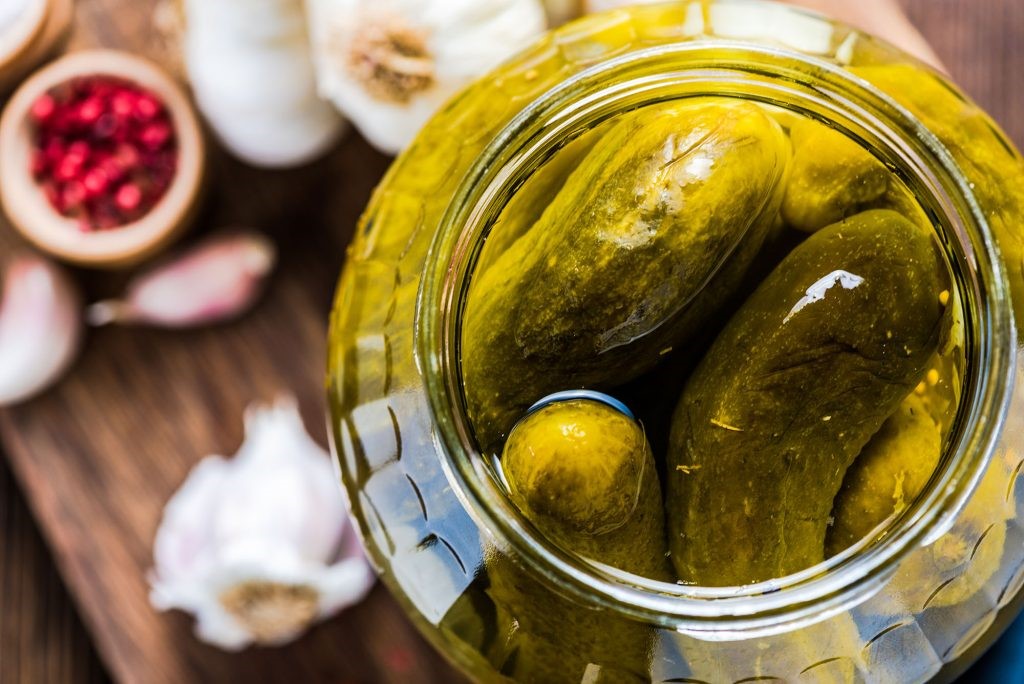
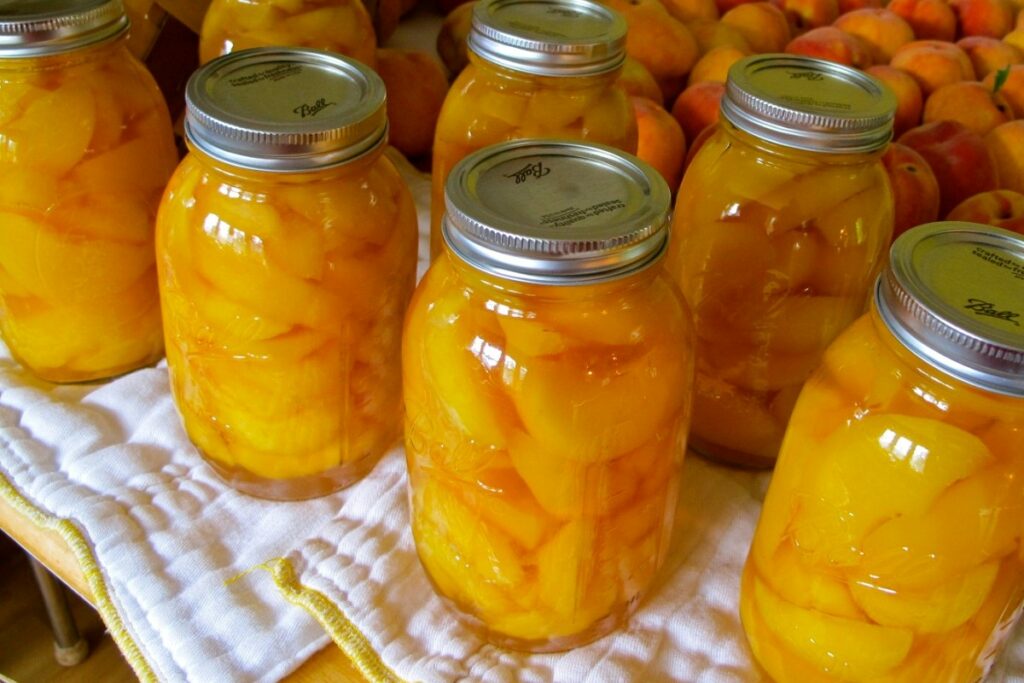
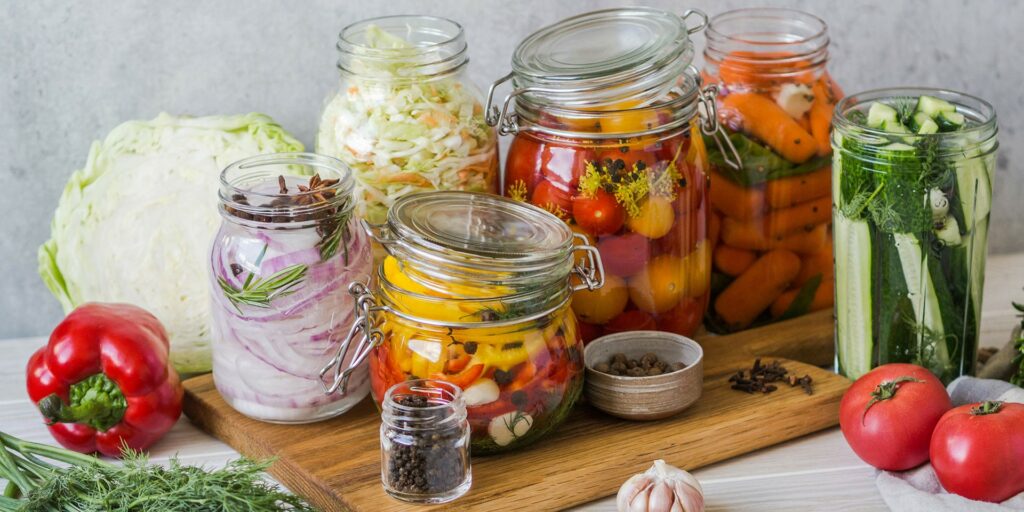
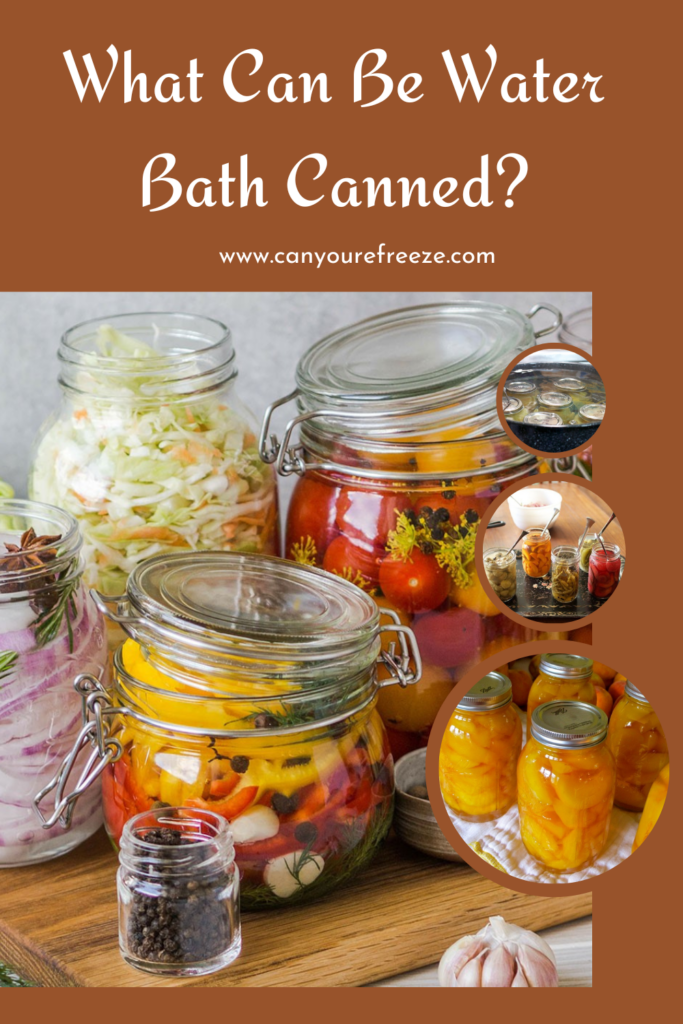
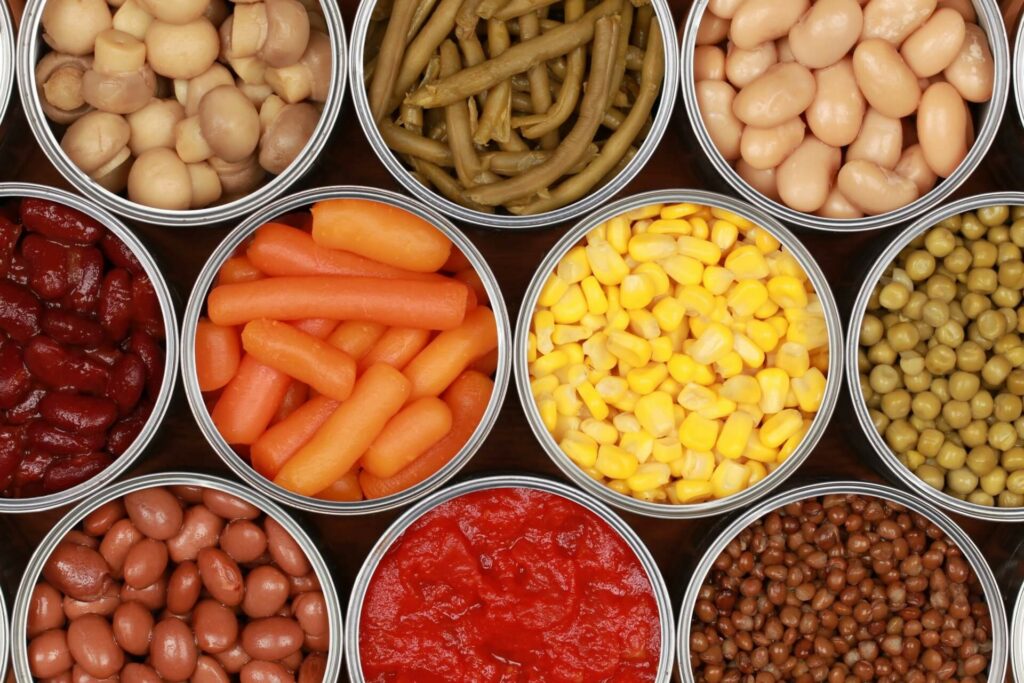
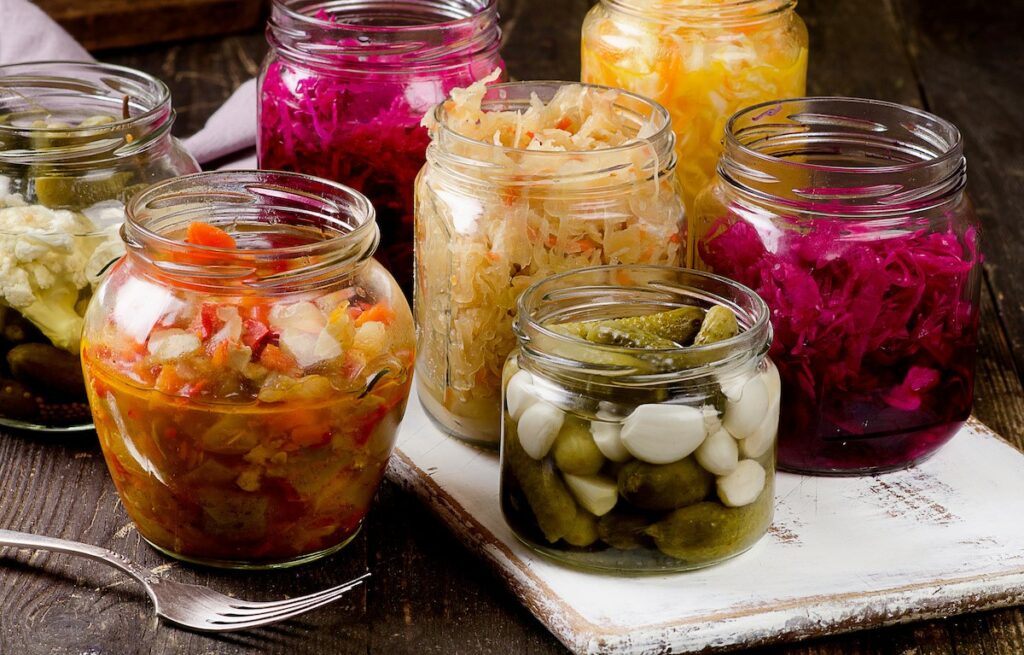
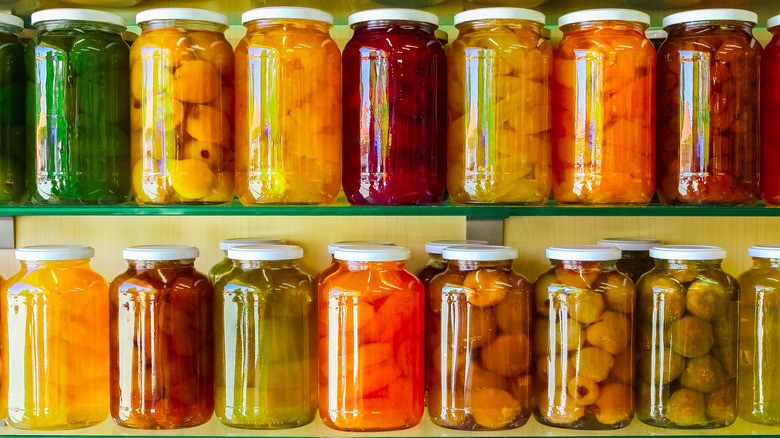
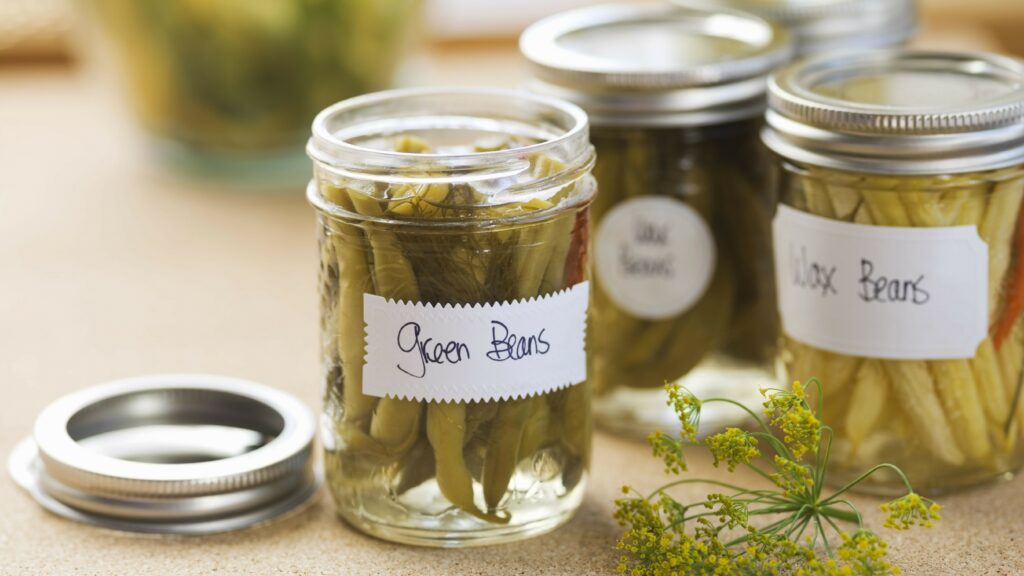
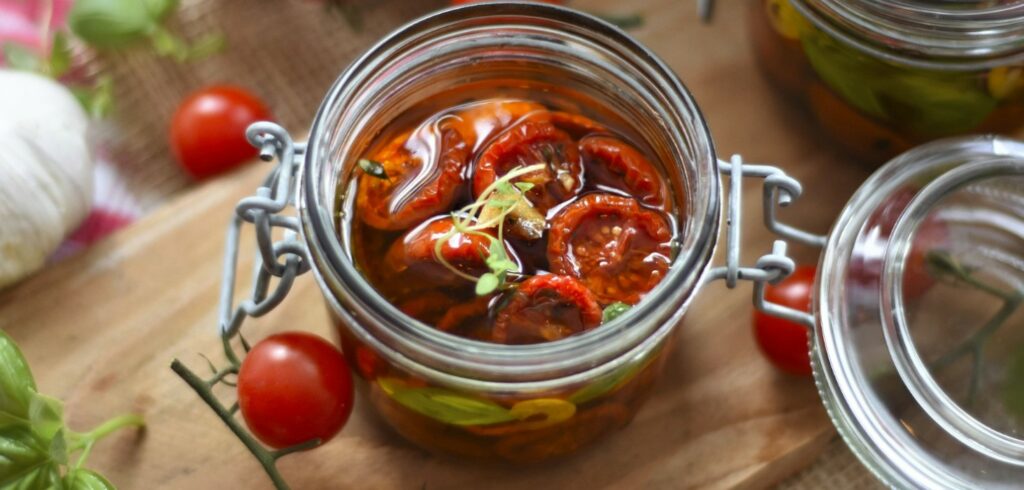
Also, a water bath canner is the most commonly used, therefore start with this method of food canning. This canner is highly suitable for high-acid foods such as fruits, sauces, tomatoes, pickles, and more.

What Is The Best Canning Kit That You Should Start With?

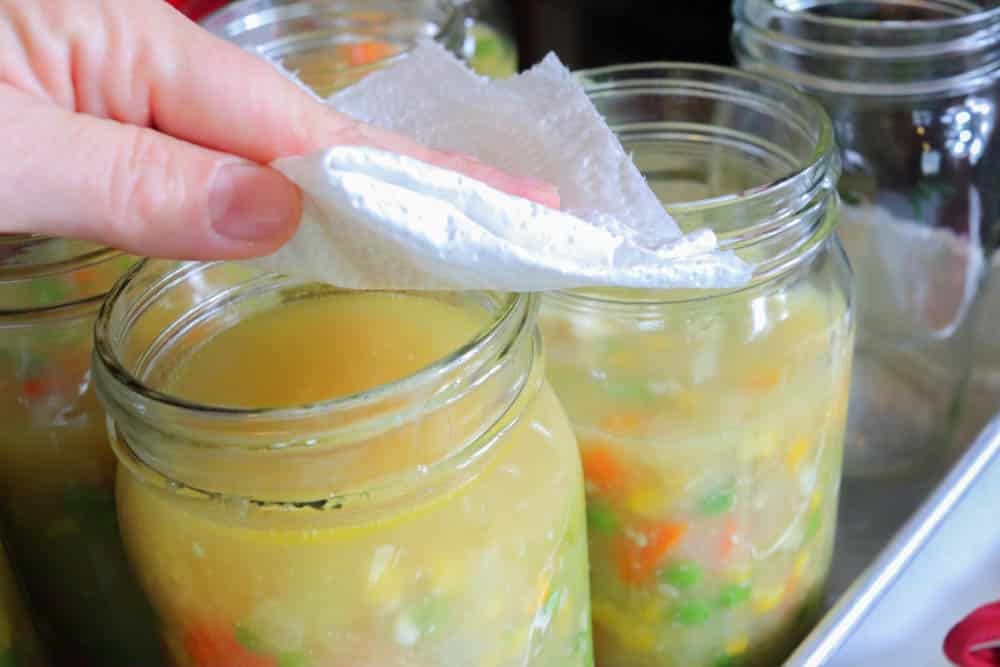
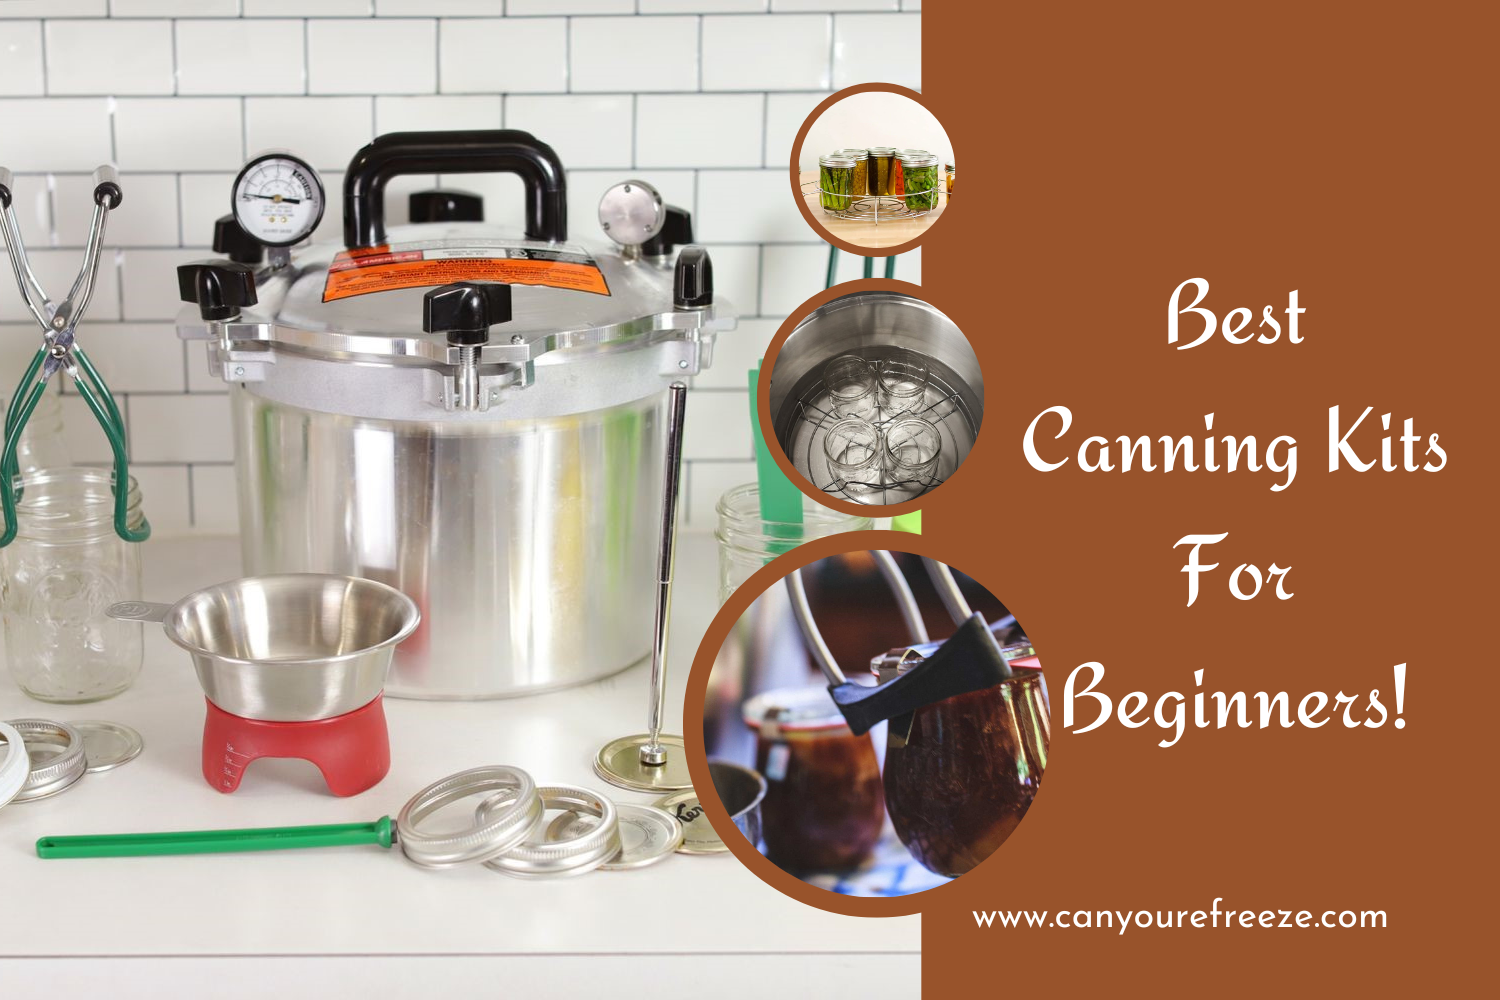
The best canning kit for a beginner is a water bath canning kit. This will include equipment such as a canner, canning racks, jars, lids, and more. A canning kit essentially contains a set of all the required tools for canning. It might also contain paper towels or tissues.

Canning Supplies

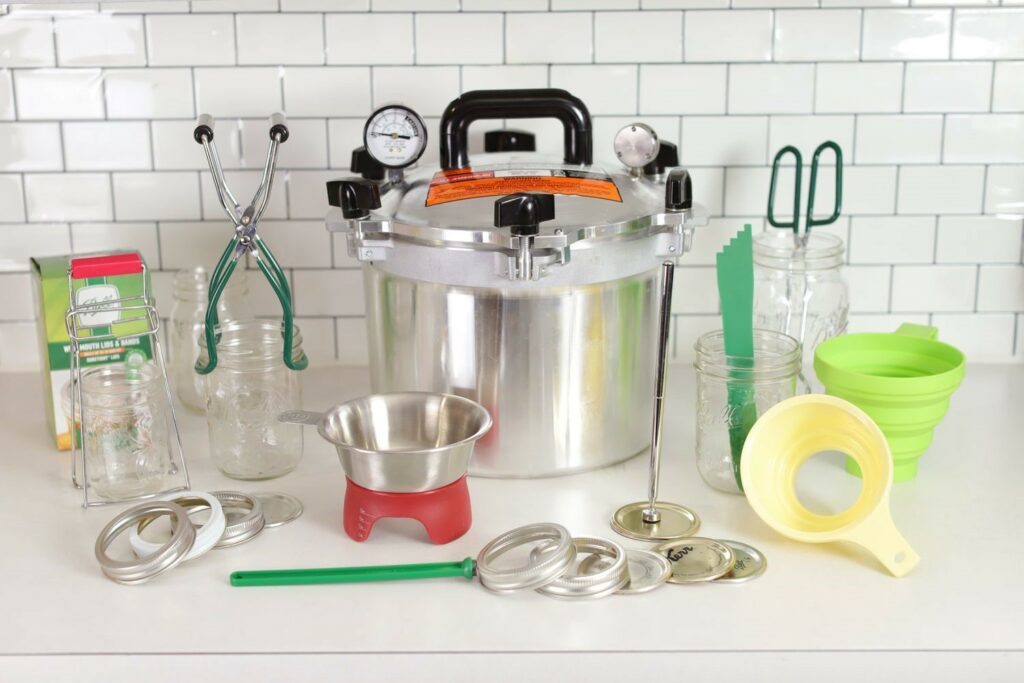
Choosing the right canning supplies for all your canning needs is crucial. Invest in good equipment, so that you do not regret it later. Here, I have mentioned a list of a few very basic canning supplies that you must have to begin with. Check them out below.
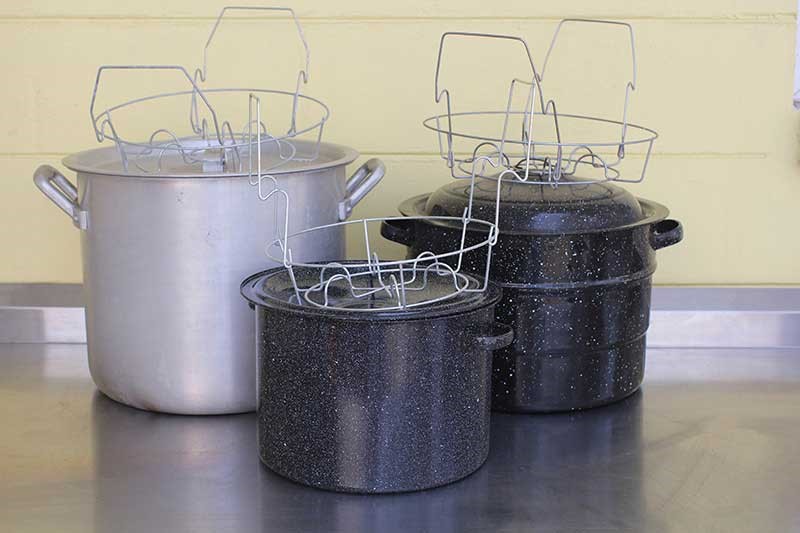
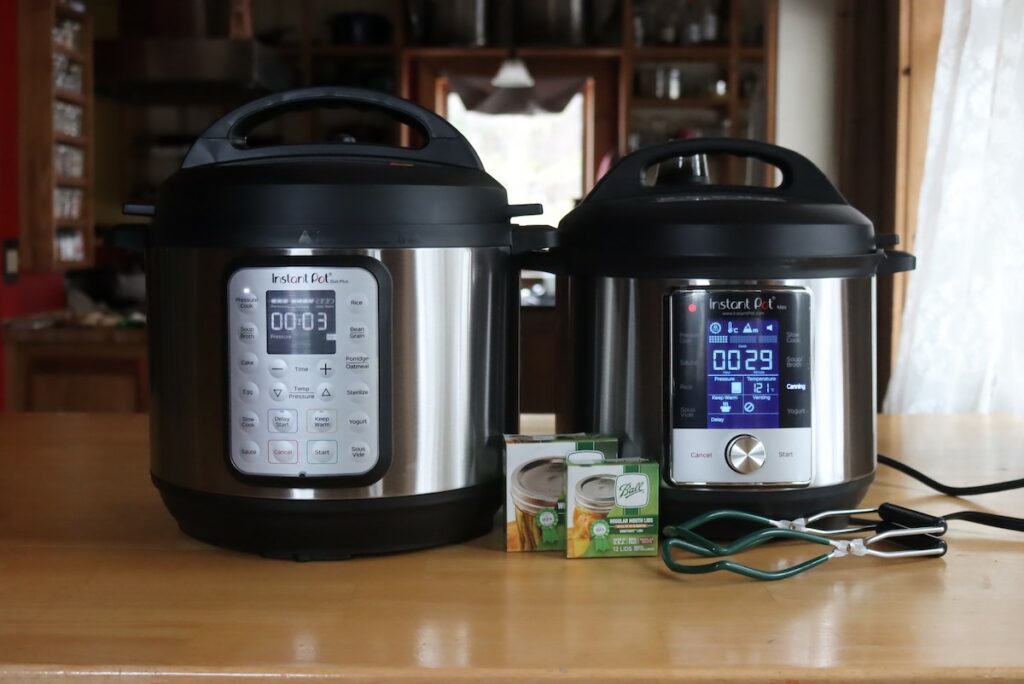
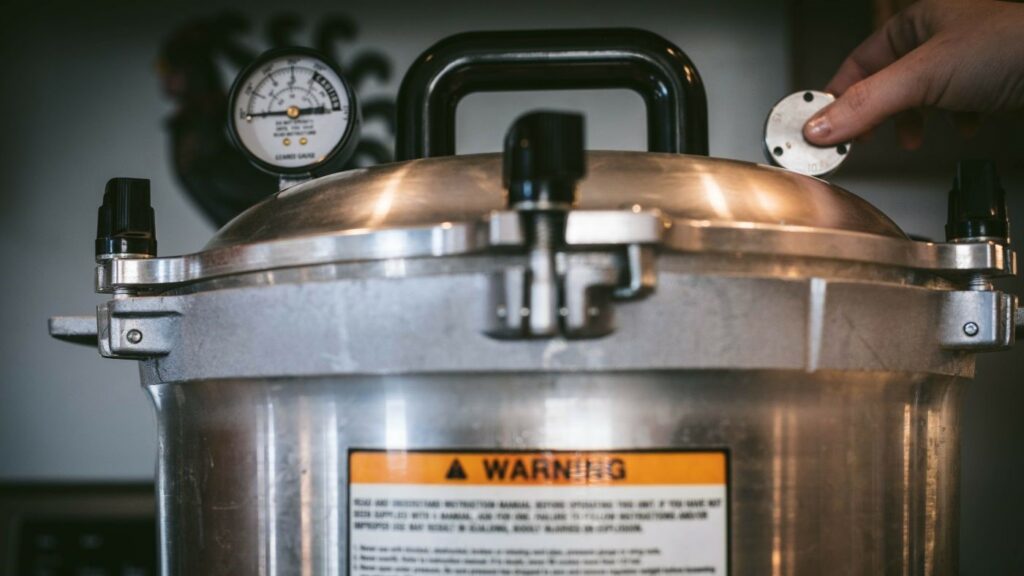
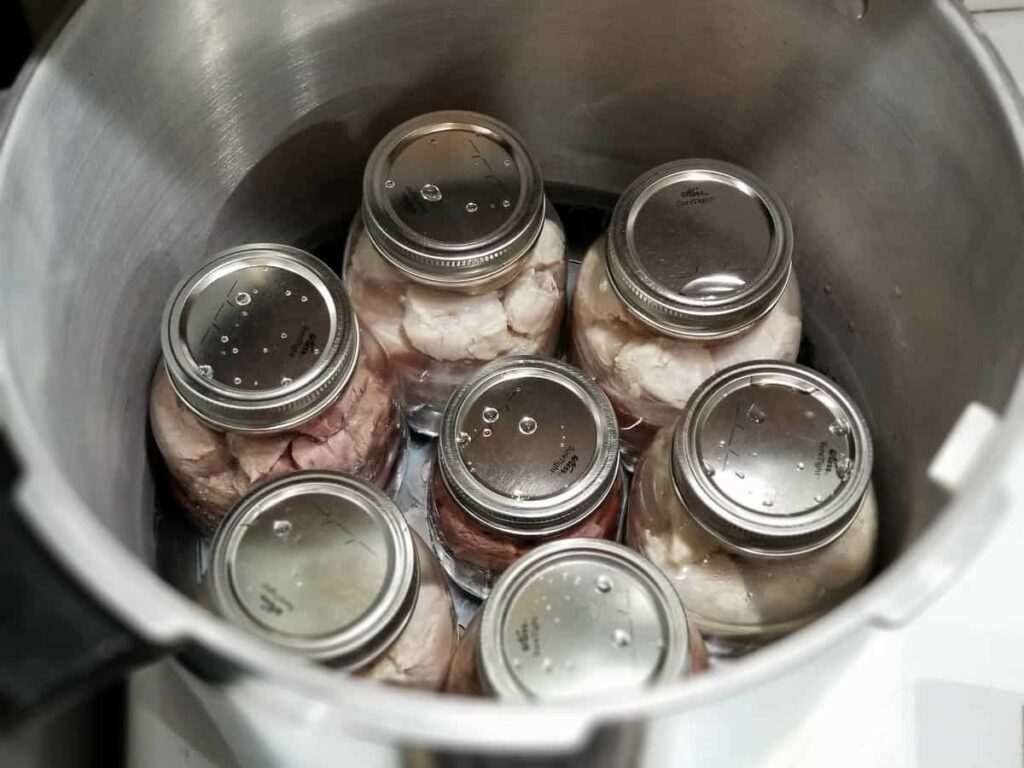
What Is The Best Canning Kit That You Should Start With

Canner

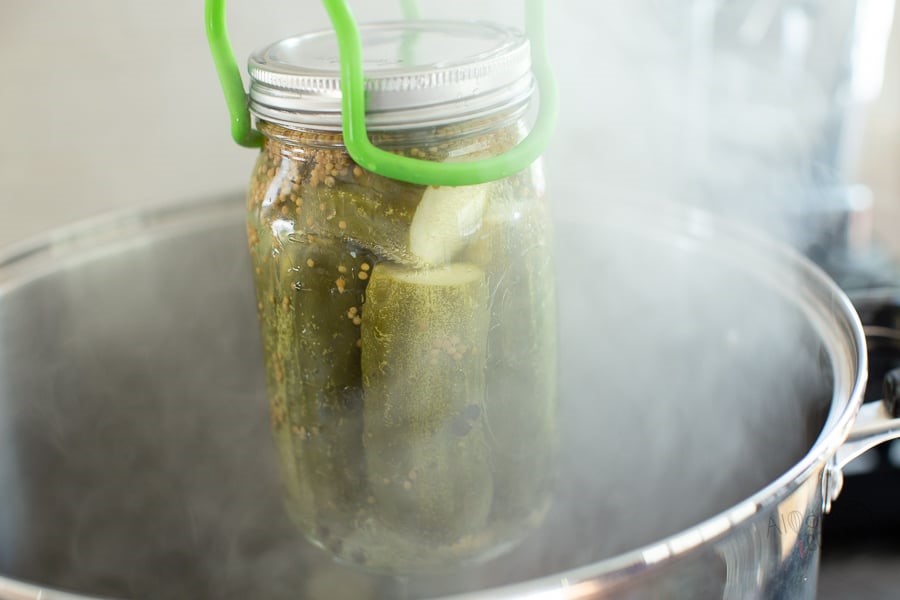
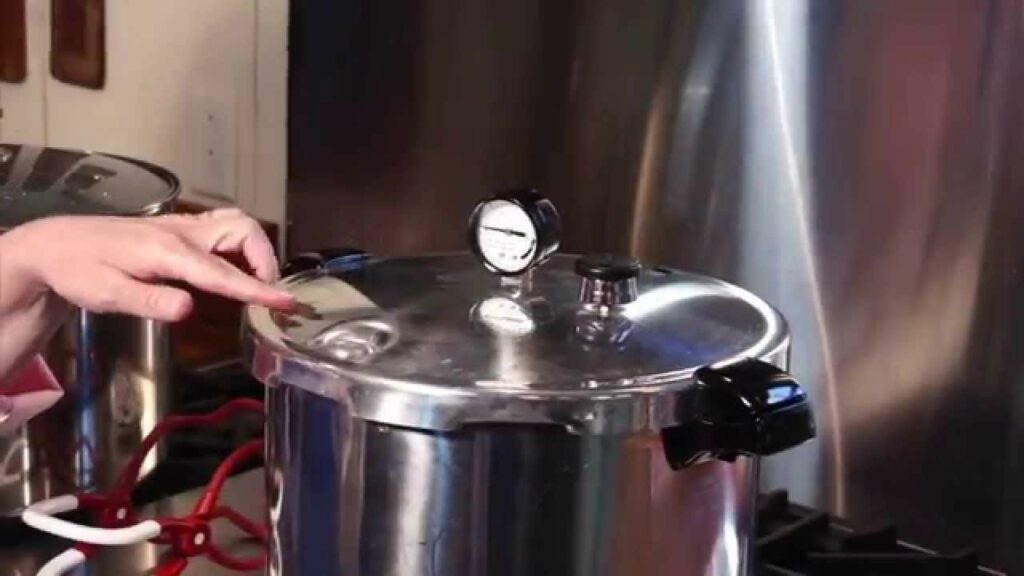
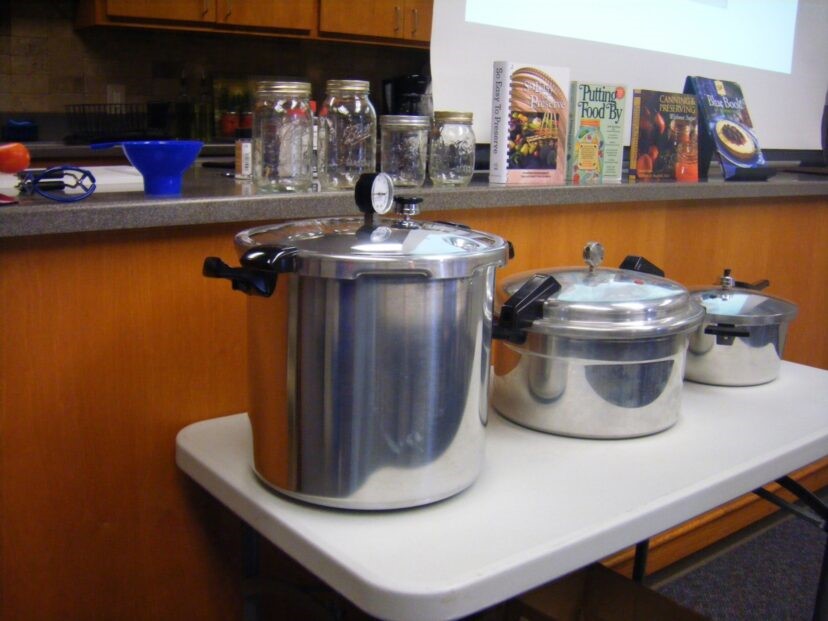
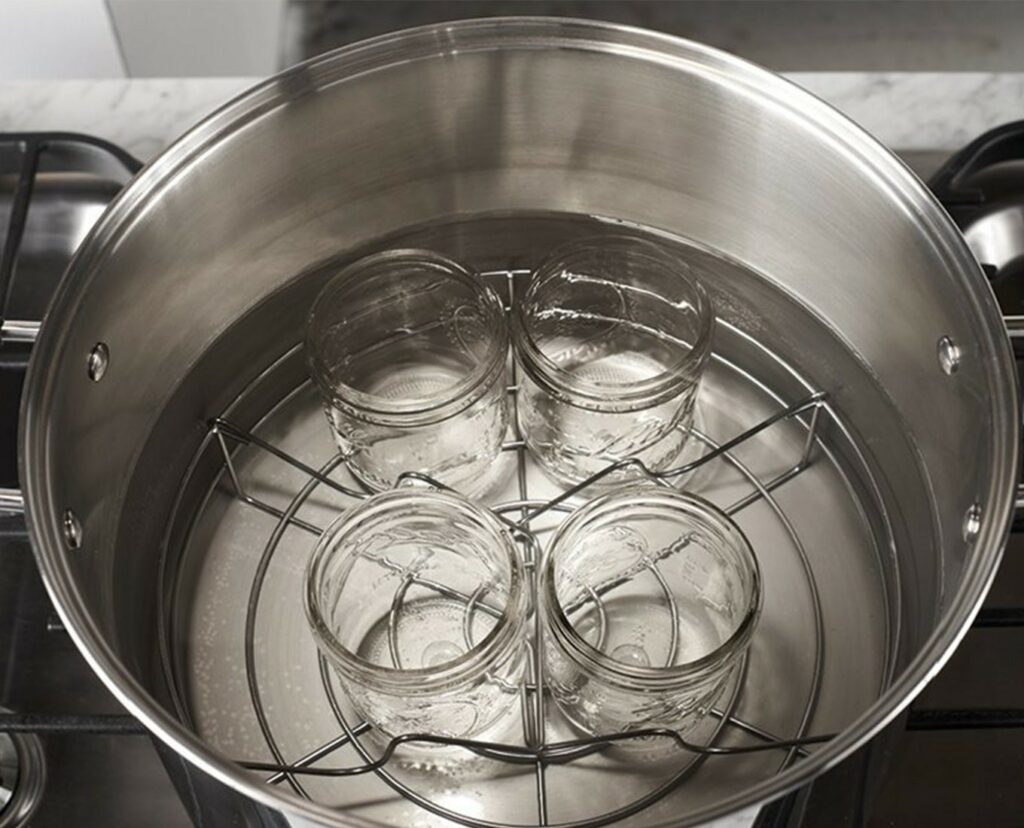
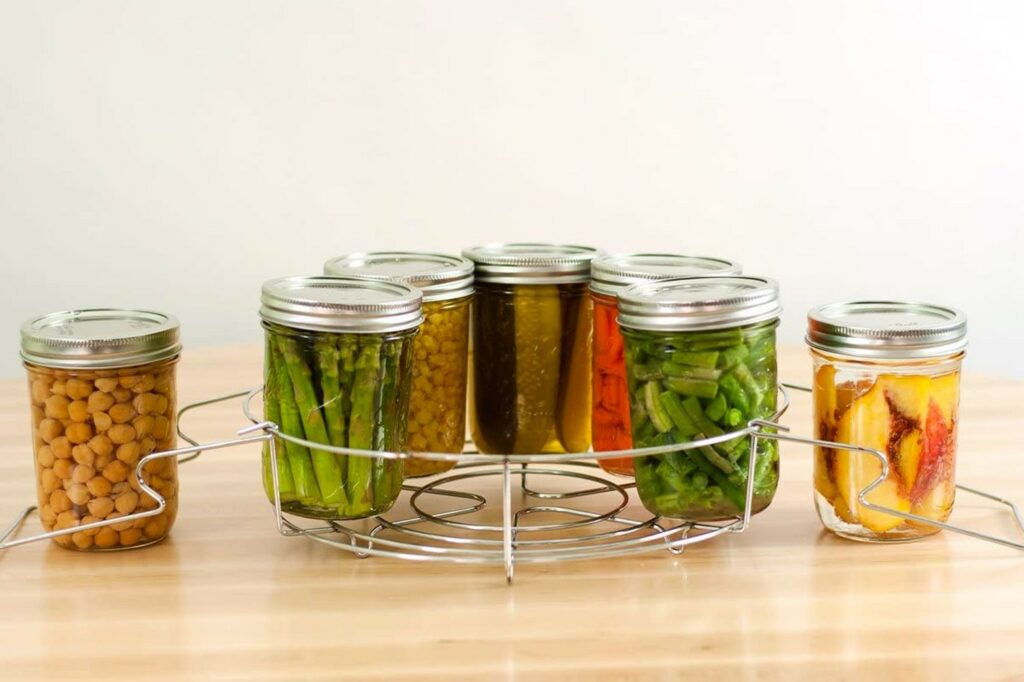
Canners are available in two types: water-bath canner and pressure canner. As mentioned earlier, as a beginner it is a good idea to invest in a water-bath canner. You will find canners of different sizes, choose one that suits your needs.

A canner usually comes with a lid and a canning rack, therefore you will not need to worry about it. A water canner is suitable for high-acid foods like fruits and vegetables, while on the other hand, a pressure canner is suitable for low-acid food items like meat.
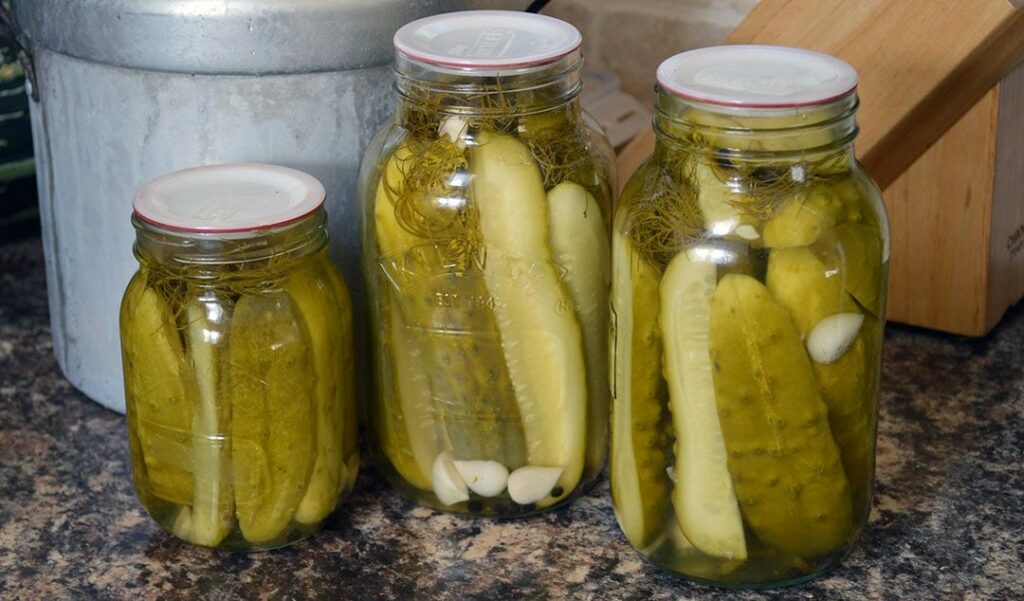
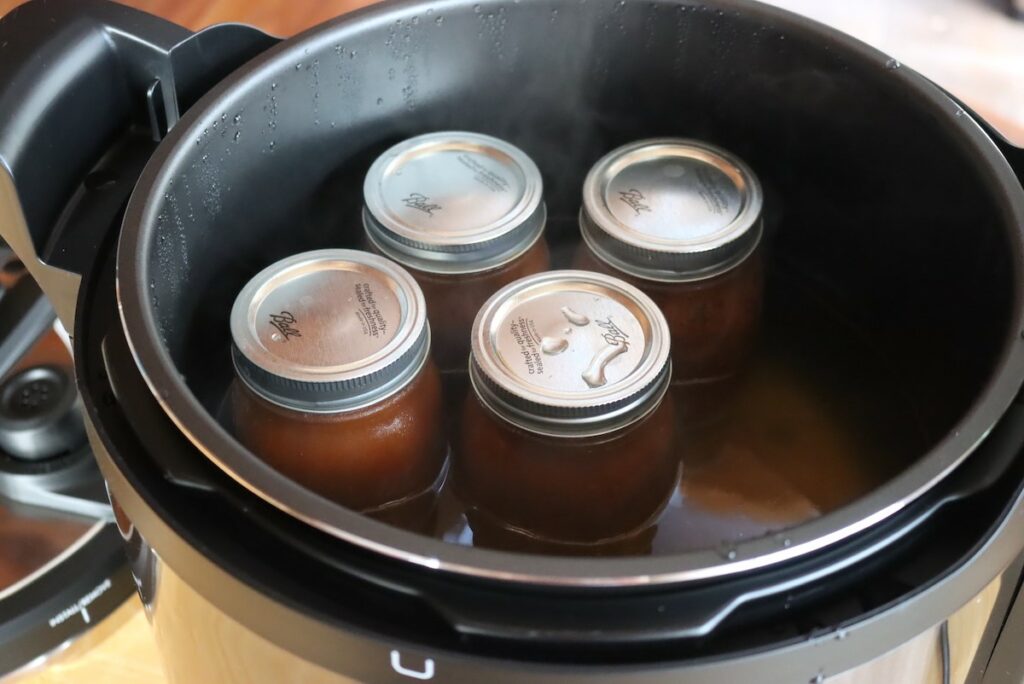
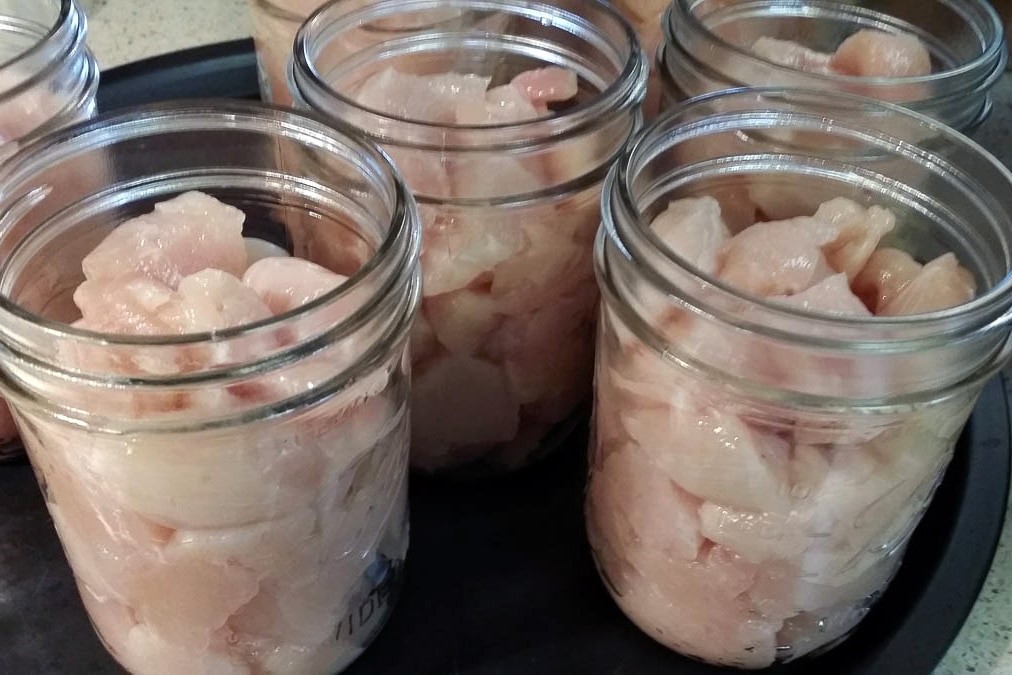
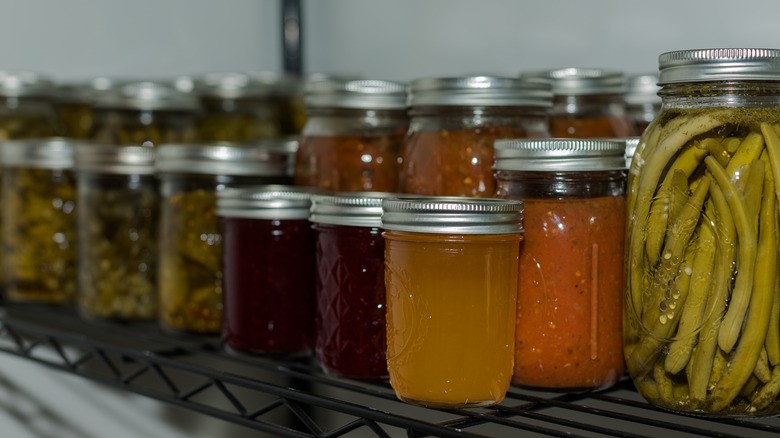
Canning Jars

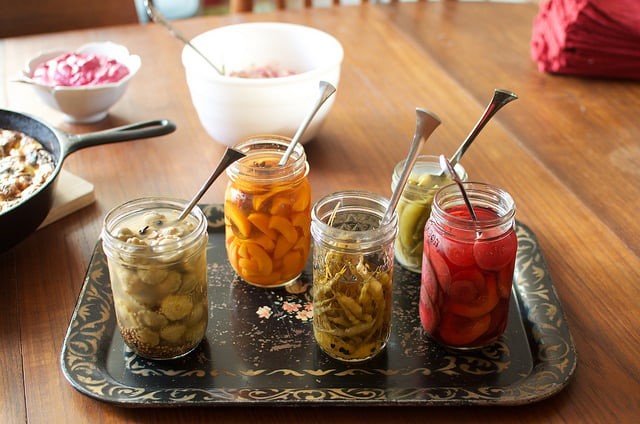
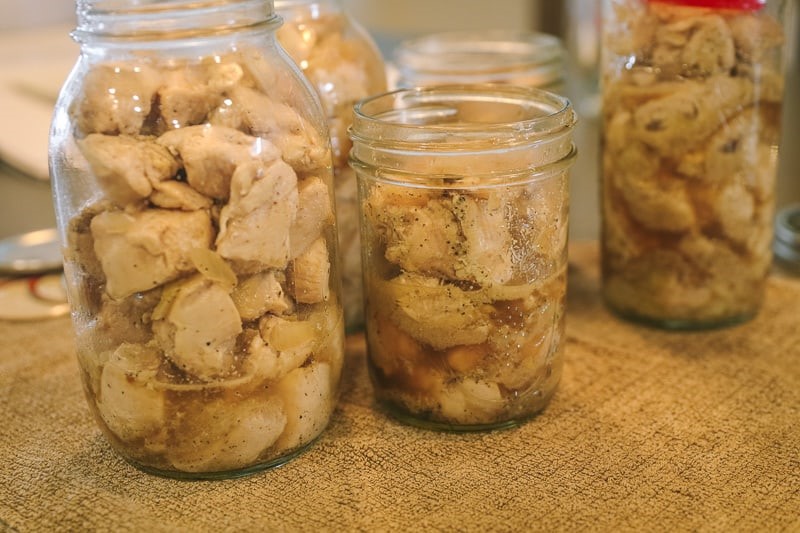
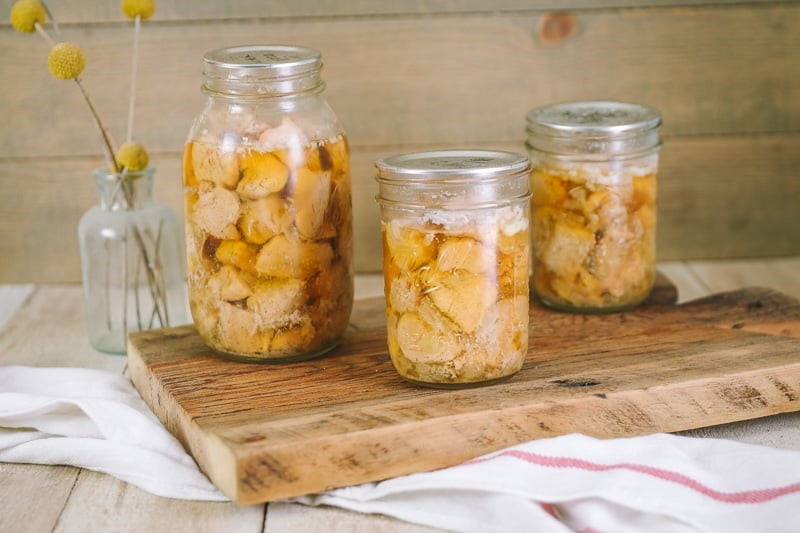
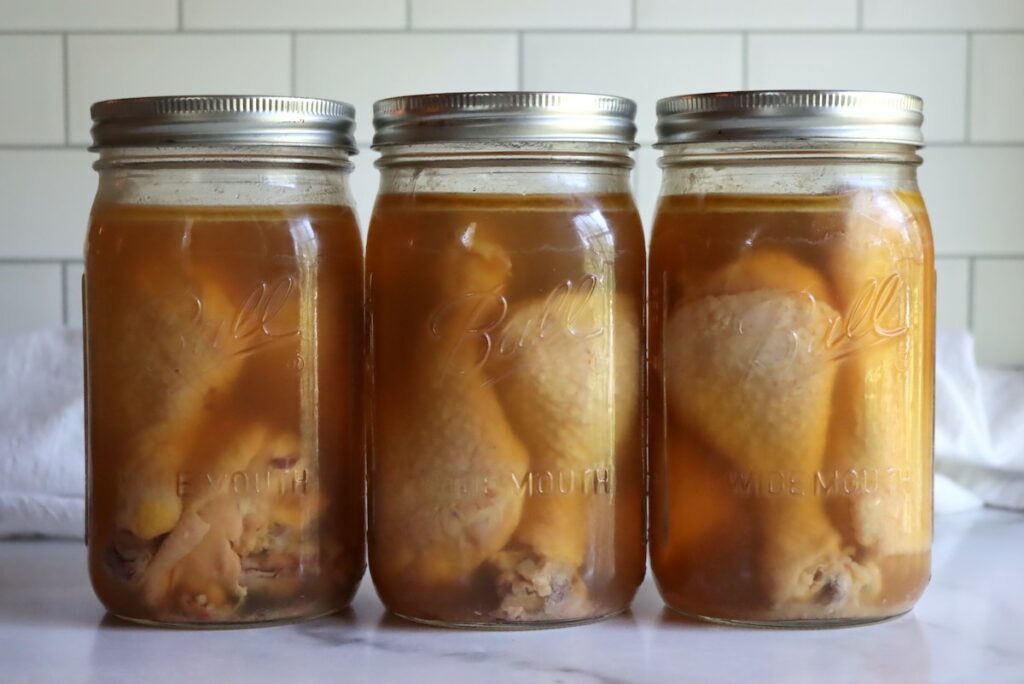
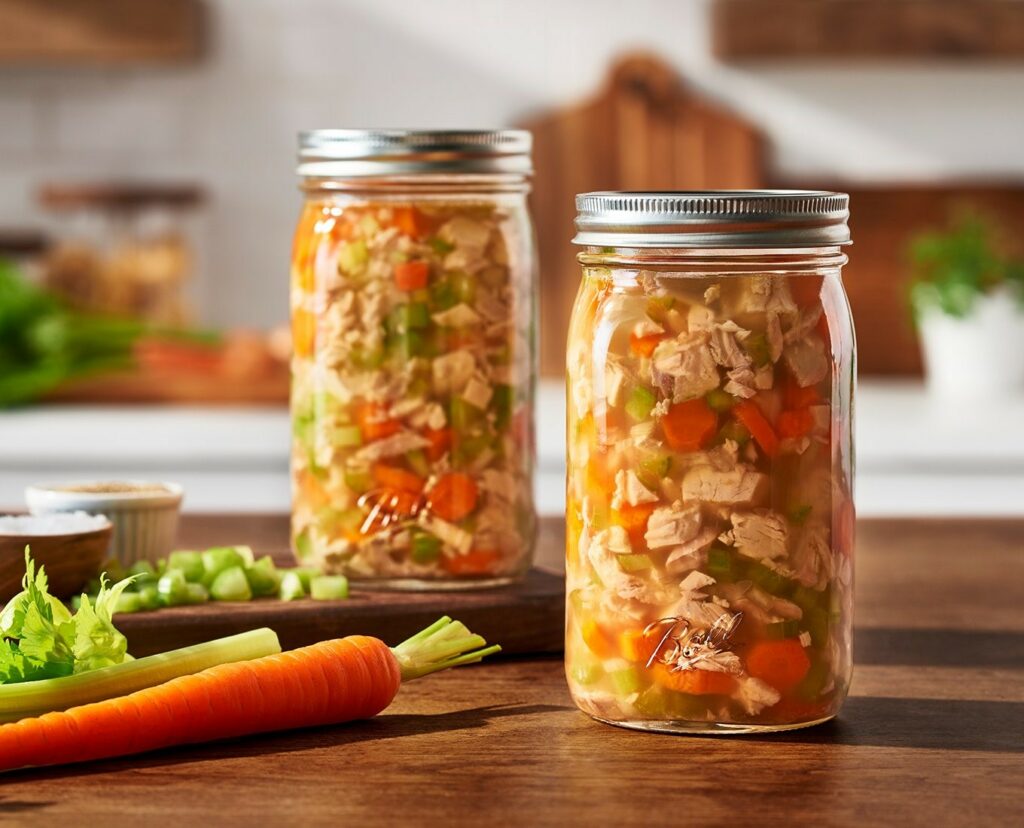
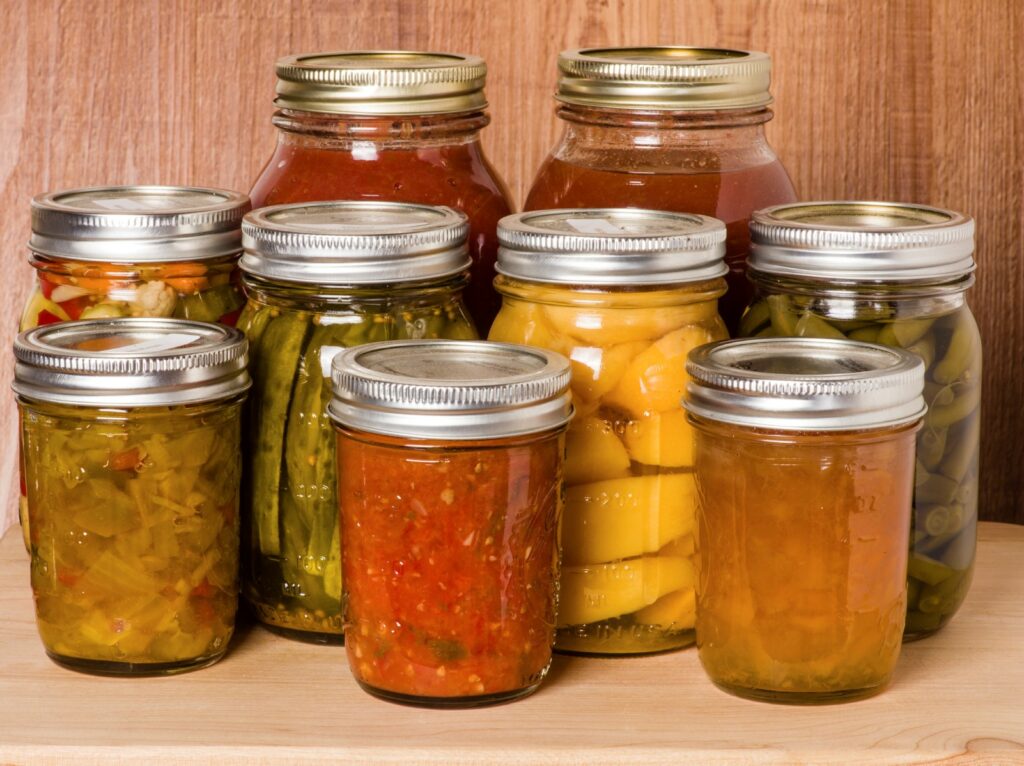
Canning jars are available in a variety of shapes and sizes. The most common types are pint jars, quart jars, and mason jars. These jars are further categorized into wide-mouth jars or regular-mouth jars.

You can use the regular mouth pint jars for all your home canning needs. They are even mostly used because you can almost store anything in them. Also, they are the best for canning pureed food, sauces, or pickles. They are also easier to clean.

Canning Jars

Canning Lids And Bands

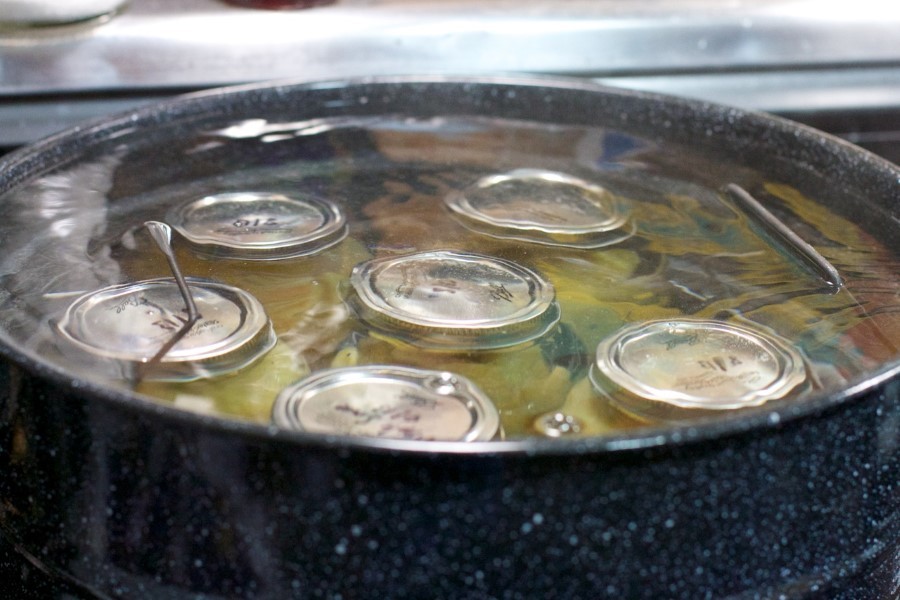
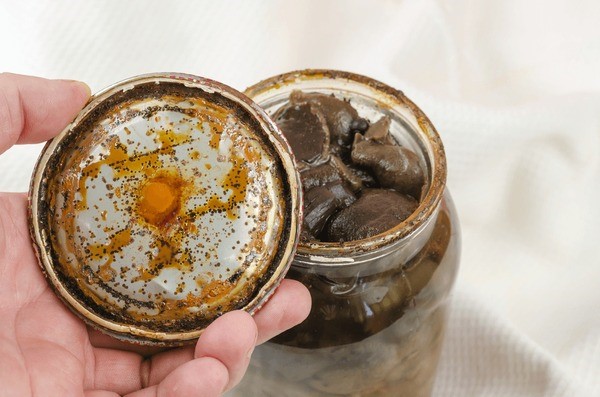
Canning lids are made up of thin metal with a rubber seal that can adequately fit over the jars, and bands are ring-shaped tools that secure the sealing. Every canning jar comes with specific canning lids and bands.

However, you will also find only canning lids and bands in the market. This is because you cannot reuse a lid even if you can reuse the jar. Therefore, it is a good idea to invest in several lids and bands at a time.
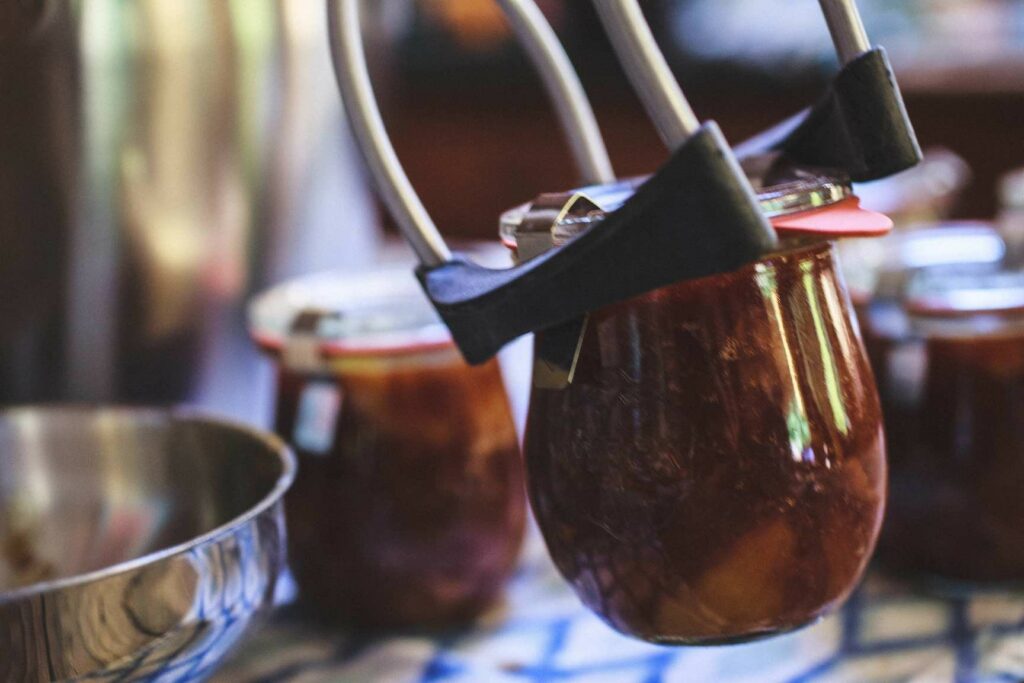
Jar Lifter

A jar lifter, as the name suggests is used to lift the hot canning jars from the boiling water in the canner. You will definitely need a jar lifter because you cannot directly remove a hot jar with bare hands. So, invest in a good one.

Jar Lifter

Food Strainer

A food strainer might not be an essential canning supply, but having one will save you a lot of time in the canning process. This is because a food strainer can be effectively used to remove skin or seeds from fruits and vegetables quickly.
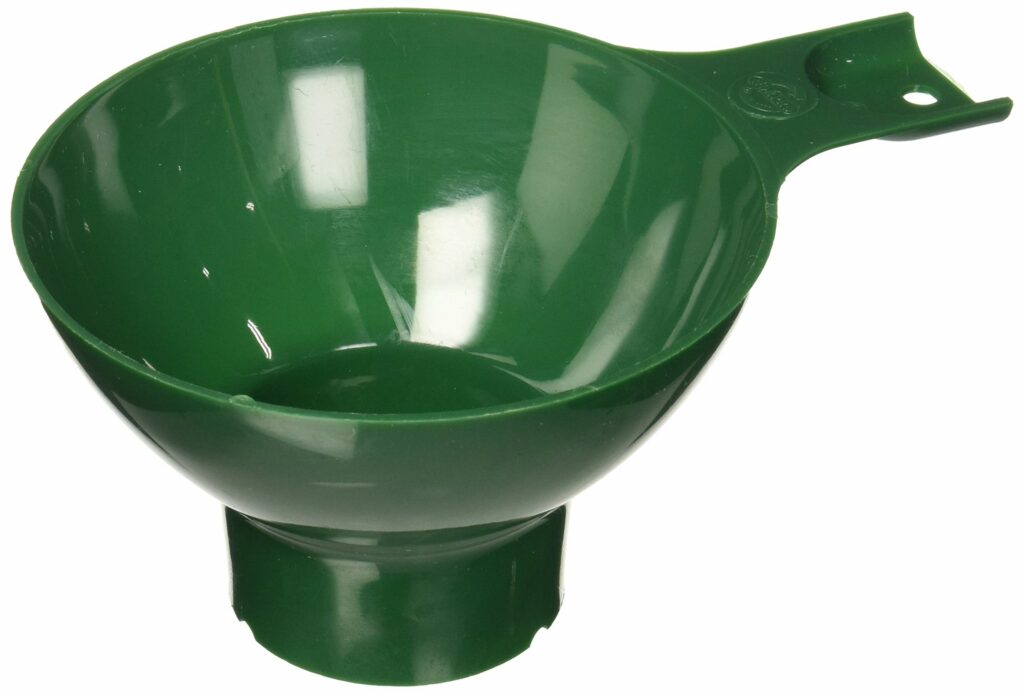
Wide Mouth Funnel

A wide-mouth funnel is very helpful while canning as it allows easy filling of the jars without bothering about the mess, especially pureed food items. Therefore, it can be considered a must-have tool for canning.

You can use a simple plastic funnel for the purpose. It does not matter which funnel you are using the purpose is to make the job easier and avoid mess. Therefore, investing in a funnel is a good idea.

Wide Mouth Funnel

Knives

While it might seem a small tool for canning, it is in fact one of the most important ones. You will always need a knife to prepare your fruits or vegetables for canning. A good-quality knife makes the process of chopping easier.

Therefore, you should invest in a good knife. There are a variety of knives available that can be used for different cutting purposes. You can choose to go for some of them per your chopping and slicing requirements.

Best Canning Kits For Beginners

How To Water Bath Dill Pickles? Do You Have To Water Bath Pickles?

How To Water Bath Dill Pickles?

Canning dill pickles is straightforward. Yes, it is an easy task and can be done in no time. Anyone can water bath dill pickles at home. All you have to do is follow the step-wise technique and you will successfully water bath pickles.

How To Water Bath Dill Pickles

Check out the following steps to water bath dill pickles at home:

  • Prepare your favorite recipe of dill pickles at home and keep it aside to cool completely. Remember the recipe must cool down completely before you can it.
  • Fill a water bath canner with enough water and bring it to a boil. Make sure the canner has enough water to completely submerge the cans while processing.
  • In the meantime, fill the jars with dill pickles and seal all of them adequately. You can use canning bands to secure the sealing.
  • Once the water comes to a boiling temperature, carefully place the sealed jars in the water, and make sure they are completely submerged in the water.
  • Set the timer to about 10-15 minutes and let the canning jars process in the boiling water on a medium to low flame.
  • Once it is done, use a jar lifter to remove each can from the water bath canner. Place the processed jars on a paper towel to soak all the extra moisture.
  • Let the jars sit for at least 24 hours before you check the sealing. Once you are sure that the sealing is sufficient, you can store the canned dill pickles in your kitchen cabinet.

Tips To Preserve Dill Pickles!

Now that you know how to water bath dill pickles, here are a few tips to preserve them that will ensure the best results. You do not want your pickles to go bad, right? These tips will prove to be beneficial for you.

Tips To Preserve Dill Pickles

Check out the following tips for storing dill pickles at home:

  • Use small quart or pint jars to store your dill pickles. This way you will not have a lot of pickles in one place, and it will be easier for you to use them. Storing in smaller quantities is always a good idea.
  • Store the canned jars in a cool and dry place that is away from heat and light. This will protect the jars from spoiling. Extreme heat or temperatures will cause the food to spoil, therefore store it in a nice place.
  • If you have opened a jar of dill pickles and are unsure if you could finish it before or if it might get spoiled, store the opened ones in the refrigerator. The refrigerator will be safe to preserve the opened jars of dill pickles for some time.

Do You Have To Water Bath Pickles?

Pickles are meant to be water bath canned to preserve them. You cannot process pickles in a pressure canner as it will not survive the constant high temperature of a pressure canner. Different food items need different canning processes, and thus pickles are best suited for the water bath canner.

Do You Have To Water Bath Pickles

So, yes you will always have to water bath pickles if you want a prolonged shelf life of more than 18 months. Canning is always a good idea to preserve the pickles for a long time, while that might not be the case if you just simply store pickles.

Can You Water Bath Store-Bought Pickles?

Store-bought pickles do not necessarily need to be water-bathed. This is because they already come with an expiry date and people generally consume them within the expiry date. Additionally, they already have sealing and storage instructions, so canning them is useless.

Can You Water Bath Store-Bought Pickles

The water bath is a process of food preservation for a long time. And the case with store-bought pickles is different. Because they are prepared differently, therefore they need to be stored differently. Hence, you cannot water bath commercially manufactured pickles.

How To Water Bath Dill Pickles

What Can Be Water Bath Canned? The Correct Way To Water Bath Canning!

What Can Be Water Bath Canned?

Foods that are high-acidic in nature can be preserved through a water bath canner. For example, fruits, jams, jellies, pickles, and tomatoes can be water-bath canned. Low-acid foods such as meat, are unsuitable for a water bath canner. They can be preserved in a pressure canner.

What Can Be Water Bath Canned

Using a water bath canner at home is probably the easiest method to can food effectively. And, it is a beginner-friendly method, so if you are new to canning, start with high-acid foods, especially fruits, and can them at home in a water bath canner.

15 Foods That You Can Preserve In A Water Bath Canner

You might think as a beginner it is difficult to figure out which foods can be canned in a water bath canner, and on the contrary which foods can be canned in a pressure canner. Do not worry, I have a list of 15 food items that can be canned in a water bath canner to ease the process.

15 Foods That You Can Preserve In A Water Bath Canner

Check out the list of following food items:

  • Whole, sliced, or juiced peaches
  • Slices, half, or jams of pears
  • Handmade apple sauce
  • Pickles with apple butter and other pickled goods
  • Radishes
  • Zucchini
  • Legumes
  • All varieties of berries
  • Sauce made with tomatoes
  • Pie Fillings
  • Fruit Preservation
  • Jellies and jams
  • Pickles
  • Salsa

What Is The Method Of Water Bath Canning?

Canning food using the method of water bath canning is quite easy. All you need to begin with is a water bath canner to continue with the process at home.

What Is The Method Of Water Bath Canning

Check out the following steps to learn about the method:

  • Pour water into the water bath canner. You can use any large pan from the kitchen if you do not have a water bath canner.
  • After that, place a canning rack inside, and put the canner on the burner. Allow the water to boil after turning on the flame.
  •  With the use of tongs, carefully place the canned jars in the boiling water. Make sure the cans must be fully submerged in water.
  • Generally, a water bath canner takes thirty to sixty minutes. Here, the timing of the processing will depend on the food item you are canning.
  • Process the cans over medium to low heat in the water. When it is finished, turn off the flame and take the jars out of the water gently.
  • Keep the jars aside in a cool and dry place. Check the sealing, and your food is prepared for storage.

Is It Safe To Use A Water Bath Canner To Preserve Food?

Yes, using a water bath canner at home is completely safe to preserve your food. As long as the food jars seal sufficiently, and the jars are processed correctly in the canner, you know that the food will be safe for consumption in the long run.

Is It Safe To Use A Water Bath Canner To Preserve Food

Do not fret too much about the procedure of canning in a water bath canner, as food that has been canned in hot water can be kept fresh for a very long period. As a result, the food will be safe for consumption. Just make sure the sealing is tight to keep away air.

Equipment For Water Bath Canning

Even if you can simply water bath can with items that are easily found in the kitchen, there are a few specialized ones that you will still require. Food will deteriorate if canning is not done correctly.

Equipment For Water Bath Canning

Check out the following list of equipment for water bath canning:

  • A water bath canner or a large pan to fit all the cans
  • Canning jars and lids
  • Canning rack, ladle, and jar lifter
  • Paper towels

These are a few of the essential tools you will need to can food. You now know what to do the next time you want to water bath can fruits or any other food item.

Water Bath Canner Vs A Pressure Canner

There is much difference between a water bath canner and a pressure canner.

The basic point of difference is in their usage. A pressure canner is complicated to use, so you must be very particular about the instructions. On the other hand, a water bath canner is accessible to all.

Additionally, low-acid goods like meat are best preserved in a pressure canner; high-acid foods like fruits and vegetables are best preserved in a water bath canner. These are the most important points of differentiation between the two that you should keep in mind.

What Can Be Water Bath Canned

How To Can In A Pressure Cooker? Pressure Canner Vs Pressure Cooker!

How To Can In A Pressure Cooker

How To Can In A Pressure Cooker?

A pressure cooker, also known as an instant pot is primarily functional to cook meals quickly. However, there can always be more than one usage of kitchen equipment. Having said that, a pressure cooker can be used to water bath food items at home.

How To Can In A Pressure Cooker

You can simply use a pressure cooker as the canning pot and start with the water bath canning process. The following are a few points that will help you understand the steps:

  • fill water in the pot and bring it to a boil
  • prepare the jars in the meantime and fill them with food
  • leave a little headspace in each jar and seal them adequately
  • once the water is hot, place the jars in the hot water
  • let them process on a medium to low heat for about 30-40 minutes
  • once the timer is off, remove the jars and set them aside to cool

Note: Here you do not necessarily need to use the lid of a pressure cooker, the boiling water will be enough to process the canning jars to preserve the food. Therefore, an instant pot cannot be used as a pressure canner.

Pressure Canner Vs Pressure Cooker!

If you are thinking that the processes of canning in a pressure cooker and canning in a pressure canner are the same, then you might be wrong. This is because both a pressure cooker and an instant pot cannot be compared with what a pressure canner does.

Pressure Canner Vs Pressure Cooker

While, you can use a pressure cooker or an instant pot as a water bath canner to can high-acid foods like jams, fruits, and jellies. It cannot be used to can low-acid foods like vegetables, and meat. For low-acid foods, a pressure canner works best.

Some pressure cookers come with instructions that they can be used for canning but they might not mention which method of canning. Remember it is not safe to use a pressure cooker for pressure canning.

How Does Pressure Canning Work?

Unlike water bath canning, the pressure canning method precisely uses a certain temperature of 240 F to process the jars. Also, the timing needs to be specific depending on the type of food you are canning. Otherwise, the food might spoil.

How Does Pressure Canning Work

It works the same as a water bath canner, but what majorly matters is the food density. For instance, liquid foods like soups can be processed far more quickly whereas solid foods like meat need more time.

As mentioned above, the heating temperature has to remain constant. This is because the constant temperature rapidly kills the spores of botulism in low-acid foods. Therefore, you need to maintain the heat to ensure that spores of botulism are eliminated sufficiently.

Why You Cannot Use A Pressure Cooker For Pressure Canning?

Now that you know, how pressure canning works, you must be clear that a pressure cooker just cannot be used for the purpose. This is primarily because a pressure cooker cannot maintain a constant temperature of 240 F. And low-acid foods if processed under 240 F will be affected by botulism.

Why You Cannot Use A Pressure Cooker For Pressure Canning

Is The Pressure Cooker Safe For Water Bath Canning?

You can use a pressure cooker for water bath canning because it consistently boils the water to process the jars. Likewise, you can literally use any large pot as a water bath canner. Therefore, we can say that a pressure cooker is safe for water bath canning, as long as the jars are complete;y submerged in the water.

Is The Pressure Cooker Safe For Water Bath Canning

It will not affect the quality of the food thus preserved and you can store the canned food for a long time. Summing it up, that was all about using a pressure cooker for canning food at home, Now that you know the do’s and don’ts of a pressure cooker, use it carefully the next time.

How To Can In A Pressure Cooker

Canned Food Storage For Small Spaces!

Canned Food Storage For Small Spaces

Canned Food Storage For Small Spaces

Canning is one of the best food preservation techniques that can be done easily at home to keep the food safe. And every time you can food at home, you tend to preserve some extra, right? But you might end up with a shortage of storage space for the cans.

Canned Food Storage For Small Spaces

Do you have a lot of food cans to store but do not have that much space in your pantry? Or is your pantry disarranged due to the shortage of space? Whatever the reason could be, I have a few ways that will help you to store your canned food in a better way.

In this article, I will guide you through 8 possible ways to store your canned food in small spaces. These will help you to make the most of your small storage space and organize the cans into an arranged and neat cabinet. Check out the following sections for more!

1. Wire Baskets

Wire baskets are a great option to arrange your canned food in the kitchen pantry. This way the cans will not only take less space but will also remain organised. Wire baskets have an open design so that you can quickly find your food jars.

Wire Baskets

Another reason for using the wire baskets is that, they are quite sturdy and durable. They will last longer and therefore can be easily used to store food cans. They can also fit into any space, which means better storage.

2. Tiered Drawers

Tiered drawers will significantly simplify your small storage spaces. Because they are tiered, you can store more food cans at a time even if you do not have much space. They line up diagonally, and so you can easily reach and see the cans.

Tiered Drawers

Tiered drawers also eliminate the need to dig into traditional drawers to search for a product. And what could be better, isn’t it? Simply install tiered drawers in your kitchen pantry and you will not regret it. They are the best when you have a small space.

3. Pull-out Cabinet Organiser

You might have seen pull-out cabinet organizers in modular kitchens. They are the best when it comes to making the most out of small spaces. So, if you do not have one installed in your kitchen, get it done for better space management.

Pull-out Cabinet Organiser

They can be customized as per your kitchen space and therefore are worth the expenditure. They are also simple to use and a great way to make maximum use of cabinet depth for storage. You can keep and access the food cans in this way with ease whenever necessary.

4. Open Shelving

Keeping the kitchen shelves open will save you a lot of space. And therefore, this is one of the best solutions for limited spaces. They can be optimized when you need to store frequently utilized canned items.

Open Shelving

You can also stack the food cans on top of each other in an open shelving system. This will also make it look more organized and arranged. You can install an open shelf anywhere in the kitchen.

5. Cabinet Door Organisers

A door organizer is a great idea to get the most out of the storage cabinets in your kitchen. With them, you can keep canned goods in the doors of the cabinet in addition to its shelves.

Cabinet Door Organisers

Cabinet door organizers can make a great difference in your kitchen spacing plans. Even though they are small in size, you can make the most of your storage space with them. In other words, they increase storage space without taking up much room.

6. Pantry Drawers

Pantry drawers are not similar to pantry shelves. They can help you streamline your food cans more effectively and at the same time simplify your search for the food jar you are looking for. Pantry drawers are one of the best places to store your food easily.

Pantry Drawers

You will not have to go through multiple cans to get to the back when using pantry drawers as they can be easily found. Unlike a shelf, you can effortlessly reach every can by simply pulling the drawer.

7. Plastic Risers

The least expensive way to optimize the storage spaces in your kitchen is to use plastic risers. With them, you can seamlessly maintain the food cans by making the most of the depth and height of the shelves.

Plastic Risers

The plastic risers will also make your kitchen shelves appear more polished and well-organized, thus making the canned goods much more visible and accessible. This will further allow you to make the most of your storage areas.

8. Floating Pantry Shelf

Hanging or floating pantry shelves are a good option to balance out your available storage space. This is because on these shelves storing the canned food items can be done with ease and at your convenience.

Floating Pantry Shelf

Floating shelves are best for large-sized cans. However, keep in mind that because they will weigh more, you should place them near the bottom of the shelves. Lastly, floating shelves can be easily placed in any part of the kitchen.

Summing it up, that was all about the ways to store canned foods in small spaces. While these methods work great, alternatively you can also use can dispensers, wicker baskets, or clear baskets to maximize the storage rooms.

Canned Food Storage For Small Spaces

How To Store Canned Food After Opening? How To Store Unfinished Canned Food?

How To Store Canned Food After Opening?

You must be using canning as a method to store food at home. It is one of the best ways to preserve food at home. While canned food can be stored for years, the food might not go well with the surroundings when opened. What can you do then?

How To Store Canned Food After Opening

You can still store the food for later use, but not as long as years. You will have to finish the opened canned food within a few days. It also depends on how you are storing the food to use it later. You can either freeze it or transfer the content into another container and seal it.

This article will guide you on proper storage of the canned food after opening it. Read till the end to know more!

How To Store Unfinished Canned Food?

Unfinished canned food can stay good for a few hours. However, it depends on the type of food and the temperature of the place where you are storing the food. Also, canned foods are either acidic or non-acidic, so the time really depends on these factors.

How To Store Unfinished Canned Food

Additionally, if you intend to finish the unfinished canned food within a day, you can keep it in the can itself. On the other hand, if you want to use it later, it is suggested that you seal the can properly to avoid air contamination. This will keep the food for longer.

Is It Safe To Store The Food In An Open Can?

Well, you can store food in an open can for some time, but it is not safe in the long run. This is because the food in an open can is exposed to air, and therefore will develop bacterial growth, thus making it unfit for consumption.

Is It Safe To Store The Food In An Open Can

If you intend to finish the food within a few hours, you can keep it in an open can. Otherwise, it would be best to refrigerate the canned food at least. It will stay in the freezer for quite some time, and you can finish it within 4 days.

Food in an open can degrade sooner than food in the refrigerator. Therefore, it is safer to store the opened canned food in the refrigerator. However, the time in the refrigerator will solely depend on the type of canned food you are storing.

Is It Safe To Refrigerate Opened Canned Food?

Yes, it is safe to refrigerate opened canned food. However, for the food to be safe, it would be best to transfer the opened canned food into glass or airtight containers. The food will stay fresh for a longer time when stored in an airtight container.

Is It Safe To Refrigerate Opened Canned Food

Hence, we can say that it is safe to store opened canned food in the refrigerator. It will be kept for 4-7 days. Post that the food will start spoiling, and it will eventually lose its texture and flavor. Sometimes it may also alter color.

How To Store Opened Canned Food Without A Refrigerator?

If you want to store the opened canned food without a refrigerator, you will have to transfer the meal into a new, nonreactive container, like glass or plastic with a lid. This will preserve the quality, texture, and flavor of the food.

How To Store Opened Canned Food Without A Refrigerator

You might think you need not transfer the opened canned food if it is already in a glass can. But that is not true, you will still need to transfer the food to keep it away from contamination. This will keep the food safe for a maximum of 1-2 days.

Summing it up, that was all about storing the canned food after opening it. Remember to use food-grade containers when re-storing the food to keep it safe.

How To Store Canned Food After Opening

Canning Raw Chicken! Things To Know Before Canning Chicken!

Canning Raw Chicken

You might be thinking if you can store raw chicken for later. Well yes, there are two options for storing the chicken for later use- freezing and canning. While you might be familiar with the steps of freezing raw chicken, canning is slightly different.

Canning Raw Chicken

Canning raw chicken takes more time than freezing the chicken, but you can also store canned chicken for longer. In this article, I have specified all the important dos and don’ts of canning raw chicken. Read till the end and you will not regret it.

How To Can Raw Chicken?

Canning raw chicken can be a little tricky because chicken is a low-acid food. And for this, you will specifically need a pressure canner. For preserving the chicken you will need specific equipment. I have a detailed list of all the necessary equipment and a step-by-step process for canning. Check them out below.

Equipment You Need To Can Raw Chicken

You will need some specific equipment to can raw chicken. Check out the detailed list below:

  • Wide-mouth mason jars: wide-mouth mason jars are preferable because they are easier to fill. And since you are canning chicken, wide-mouth jars are the best option. I would suggest avoiding quart jars because they take more pressure canning time.
  • Canning lids and bands: Make sure you use new canning lids, even if you are reusing old canning jars. Otherwise, they will not seal properly. You will easily get the lids and bands in any store.
  • Pressure canner: Since chicken is a low-acid food, you will particularly need a pressure canner to can chicken. A water bath canner will not work in this case. Make sure you have a fully functioning pressure canner to preserve the chicken.

Equipment You Need To Can Raw Chicken

Other important equipment that you will need for canning chicken are as follows:

  • Bubble remover
  • Tongs
  • Wide funnel
  • Jar lifter
  • Paper towels

Steps To Can Raw Chicken

Now that you know the equipment you need for canning raw chicken, here is the step-by-step guide to can the food. Check them out in the below-mentioned points:

  • The very first thing to do is to sterilize the jars. To do this, you will have to fill the pressure canner with water and bring it to a boil. Then, place the jars on the canning rack inside.
  • The jars will be sterilized in about 20 minutes. Next, remove them and set them aside for cooling. Leave them on a paper towel as this will absorb all the water. Leave them undisturbed until the jars are completely dry.
  • In the meantime, cut the chicken into tiny cubes, ideally one-inch cubes. And once the jars are dry fill the raw chicken into the jars with a clean spatula.

Steps To Can Raw Chicken

  • As you fill each jar, leave a 2-inch headspace. This will be useful while processing the jars in the canner at a later stage of the process.
  • Add half a teaspoon of salt and the preserving liquid to all the jars. Next, use a bubble remover or straw to carefully remove air bubbles from the jars. Close the lids.
  • Put the packed jars inside the pressure canner to process them. Make sure they are not slanted. The jars should be upright and sit straight in the canner.

Steps for canning chicken

  • Processing the filled jars in the pressure canner will take about 20-30 minutes. Make sure you keep the heat on medium to low and wait until the pressure turns to zero.
  • Once all these steps are fulfilled, you can carefully remove the pressure canner lid. Use the jar lifter to remove the cans from the canner and place them securely on the counter.

That was all about canning raw chicken in a pressure canner. Now, it is time to let the jars cool completely before you store them in your kitchen cabinet.

How Long Does Canned Chicken Last?

Chicken canned raw can last for as long as 2-10 years. This is true only if the chicken has been sealed tightly and there is no air contamination. The chicken will be kept safe on your pantry shelf if it is unopened.

How Long Does Canned Chicken Last

However, keeping chicken canned for such a long time can cause flavor and texture alterations. The nutritional value of chicken might also diminish. Therefore, it is best if you consume your canned chicken within the first years for the best results.

Does Canned Chicken Taste Normal?

Raw chicken has a fresh and juicy flavor that is enhanced when cooked. So, we can say that raw chicken has a certain flavor. However, when you go for canning the raw chicken, it is preserved in brine, which alters its taste.

Does Canned Chicken Taste Normal

If the chicken is canned for a long time, it will probably lose its flavor and become dry. This happens because the chicken loses its natural fat to some extent when preserved in brine. The brine causes the chicken to lose its flavor though it will still be safe for consumption.

Summing it up, that was all about canning raw chicken at home. The process is quite simple but needs to be done carefully to avoid any alteration in the flavor of the food. Yes, it takes time, but this way you can store your raw chicken for a long time.

Canning Raw Chicken!

Canning Chicken Recipes! Is Chicken Safe For Canning?

Is It Possible To Can Chicken Recipes?

Yes, it is possible to can chicken recipes at home. While the process might be a little long because you will need to follow certain precautions to keep the food safe for a long time, once you have canned chicken recipes you will not regret it.

Is It Possible To Can Chicken Recipes

When you know you can preserve chicken by canning, you will not have to bother about the smaller freezer space at home. You can store as many chicken cans as you want at a time. Not only this, but they are also perfect for your quick chicken meals.

Canning is also a safe process so you need not worry about the chicken recipe going bad. You can store the jars in your kitchen pantry or cabinet and the food will stay for more than 6 months. Make sure that you keep the canned jars away from heat and light.

How Do You Can Chicken Recipes?

Chicken recipes can be canned using the pressure canning method. You will have to choose the pressure canning method because chicken is a low-acid food, so it cannot be canned in a normal water bath canner.

How Do You Can Chicken Recipes

Chicken canning is easy. Check out the following steps to can your chicken recipe at home:

  • Whatever recipe you are making, allow the chicken recipe to completely cool first. You can place it at the counter undisturbed for some hours to cool sufficiently.
  • Once the recipe has cooled, transfer it into sterilized pint-sized jars carefully with a spatula. Leave a little headspace in each jar.
  • Tap the jars gently to remove air bubbles and seal them with proper jar lids. You can also use bands to fasten the sealing even more tightly.
  • Meanwhile, you can fill the canner with water and set it to boil on a high flame. Place the canning racks inside the canner.
  • Once the water has a boiling temperature, use a tong to place the chicken jars carefully inside the canner. Make sure they are totally submerged in the water.
  • Close the pressure lid and set the heat on a medium to low flame. This will let the jars process inside the canner. Cook it for 75-80 minutes before turning off the flame.
  • After the timer clicks to 75 minutes, you can turn off the flame, and gently remove the jars on a paper towel. The paper towel will absorb all the moisture.
  • Again, let the jars cool completely. Check for the sealing, if it is tight enough. Once all of these are done, your chicken recipe is ready to be canned.

Is Chicken Safe For Canning?

Yes, chicken canning at home is safe. You should know how to use a pressure canner correctly, otherwise, you might end up spoiling the food. Also, if you are a beginner at canning, it is advised that you seek supervision while using a pressure canner.

Is Chicken Safe For Canning

You can check out the USDA’s complete home canning guide to learn more insights about canning safely at home. It is better to read instructions than to simply start with the process. Remember chicken can only be canned in a pressure canner.

Canning Chicken Recipes

Chicken can be easily used as an ingredient in almost any recipe, from soups to gravy, from tacos to pizza, or anything. You can just mix chicken with any spices and recipe to enhance the flavor. The decision with chicken can never be wrong.

So talking about chicken recipes, there are so many that we cannot list all of them here. The good news is you can preserve any cooked chicken recipe as long as it does not contain any other raw ingredients.

Canning Chicken Recipes

Additionally, you can store whole, cut, boneless chicken, or chicken with bones, it is really just whatever you like. This indicates that you can cook the chicken recipe as per your choice without worrying about its storage processes after canning.

I have listed a few chicken recipes below that you can easily store in cans. The preserved chicken recipe will be stored for a long time, which means you can cook it once and enjoy it later for a long time.

Canning Chicken Soup Recipes

Following are some chicken soup recipes that can be canned:

  • The classic chicken soup
  • Roasted pepper chicken soup
  • Creamy chicken soup
  • Mushroom chicken soup
  • Mexican chicken soup

Canning Chicken Soup Recipes

Canning Chicken Chili Recipes

Following are some chicken chili recipes that you can store:

  • Chicken chili gravy
  • Chicken chili dry
  • White chicken chili
  • Chicken chili verde

Canning Chicken Meal Recipes

Following are a few chicken meal options that can be canned:

  • Spicy chicken with gravy
  • Rosemary chicken
  • Sweet and sour chicken
  • Chicken taco meat
  • Chicken salad
  • Chicken paprika and vegetables

Canning Chicken Meal Recipes

Summing it up, that was all about canning chicken recipes at home, I have only mentioned a few recipes in this article, you can preserve any chicken recipe with this method. You just need to follow instructions carefully and your chicken will be safe for a long time.

Canning Chicken Recipes

Canned Food Poisoning Symptoms! And Home Canning Shelf Life!

Canned Food Poisoning Symptoms!

If your canned food is acted upon by botulism spores, you might not know by its taste or smell. But you will notice some changes in the jars, they will appear cracked or bloated. However, sometimes it might not be visible when the botulism is very less.

Botulism

In that case, if you consume the food you might have a few symptoms. What symptoms? The following are a few possible reactions that can be caused by botulism spores in the human body:

  • Difficulty in speaking or swallowing food
  • Extreme dryness in the mouth
  • Double vision or blurry vision and sagging eyelids
  • Difficulties in breathing
  • Stomach cramps, vomiting and nausea

Canned Food Poisoning Symptoms

Types Of Botulism

Botulism is broadly classified into three different types. All of them are mentioned in the following points:

  1. Foodborne Botulism: This is botulism that is caused by food. This happens when home canned foods are exposed to improper storage conditions. This further leads to an effect of hazardous bacteria thus producing toxins in the food.
  2.  Wound Botulism: These bacteria create major infections when they react with any cut or wound. The deadly bacteria produces toxins thus worsening the wound or cut.
  3. Infant Botulism: Infants are prone to botulism when the bacterial spores proliferate in a baby’s digestive system. This is intestinal, and sometimes adults can suffer from this too.

Types Of Botulism

While these types of botulism are deadly and seriously life-threatening. You would be glad to know that botulism is rare. It does not occur easily and can be simply prevented. You just have to be careful.

How Long Does It Take For Botulism To Grow In Canned Food?

Botulism is rare and does not grow easily in the canned food. For botulism to develop, certain factors such as high pressure and high temperature need to be present. So, if you store your canned food in a cool and dry place there is no chance of botulism.

How Long Does It Take For Botulism To Grow In Canned Food

On the contrary, botulism occurs only when food is stored improperly. You will notice changes in the jar, it might appear leaked or bloated. Sometimes you might also find a layer of foam on the food. This usually takes about 2-3 months to form.

Home Canning Shelf Life!

You already know that canning is a massive food preservation technique along with freezing. And processing food items this way is a great idea to extend their shelf life. Wondering how long can you store a portion of food vastly depends on the food item.

Home Canning Shelf Life

On average, canning can increase the shelf life of fruits and vegetables by up to 18 months and meat and fish by up to 2-5 years. Pickles on the other hand can be perfectly stored for 1 year. So, the shelf life of canned goods depends on the type of food you are canning.

Do not worry, if you store the canned food in proper storage conditions that are away from sources of heat and light, it will not be affected by botulism. Remember, botulism occurs in high-pressure and high-temperature areas, so keep your food away from them, they will be safe.

Canned Food Poisoning Symptoms

Why Is It Dangerous To Can Vegetables At Home? Is Home Canning Healthy?

Why Is It Dangerous To Can Vegetables At Home

Why Is It Dangerous To Can Vegetables At Home?

Canning is one of the best ways to preserve food for later use. Foods that perish quickly can be stored for a longer time by canning. However, sometimes canning can prove to be dangerous. This is because the canned food might be unsafe and unfit for consumption.

Why Is It Dangerous To Can Vegetables At Home

This can happen due to botulism. Yes, botulism is a serious threat to food items that can even lead to difficulty in breathing, muscle paralysis, and sometimes even death. This mostly happens to canned food, therefore canning can sometimes turn out to be dangerous.

Botulism happens due to the spores in most food items, especially vegetables, which multiply and grow due to improper storage of the cans. Another leading factor of this can be low oxygen levels, low acidity, and temperatures between 40 and 120 degrees Fahrenheit.

Things You Need To Know

  • The toxin that causes botulism cannot be determined by smell or appearance, but even a small bite of the food can cause serious health effects.
  • To avoid botulism, always go for the correct canning procedure. Take precautions and store the food in adequate storage conditions.
  • If you find a change in the odor or appearance of the canned food, immediately throw it away. Do not consume spoiled food.

How Safe Are Canned Vegetables?

Canned vegetables are mostly safe and fit for consumption. It is quite uncommon for canned food to contain bacteria, be it commercially canned or home-canned. Nevertheless, you should always check a can before opening it.

How Safe Are Canned Vegetables

Damage such as cracks, dents, or leaks is the first impression of food contamination. This can simply mean that even if the canned food has been kept in hygienic conditions, it might have been exposed to harmful germs.

Is Home Canning Healthy?

Yes, home canning is healthy. Canning locks a major part of the nutritional value of the food, therefore the food stays healthy anyway. Along with this, it also preserves most of the minerals, fat-soluble vitamins, protein, fat, and carbohydrates in unaltered amounts.

Is Home Canning Healthy

While home canning is healthy, you should also keep a check on the storage properties of the food. Proper storage is necessary for the food to maintain its healthiness. Therefore, always make sure the storage place is cool and dry.

What Does Botulism Look Like?

Botulism occurring in foods is dangerous. The harmful bacteria in home-canned food can cause life-threatening symptoms such as trouble breathing or swallowing, dry mouth, facial weakness, and blurred vision.

What Does Botulism Look Like

You will know if the canned food has undergone botulism or not. This is because botulism in food is noticeable due to its odor. Yes, while the food might seem relatively well, you will know that there is something wrong with its smell.

Things To Do To Prevent Botulism From Home-Canned Food!

When you are canning food at home, follow the following tips to prevent botulism:

  • Always follow the canning instructions carefully and especially take care of the timings of jar preparations. This is very important to maintain the food value. Use tried and tested recipes if you are unsure of safe canning.
  • Never mess up with the use of all the necessary equipment in the canning process. Use the ones that are specifically mentioned in the guide to avoid any mishaps. This will also keep your canned food safe.
  • Use specified canning techniques for different types of food items. For example, use water bath canning techniques for high-acid foods and pressure canning techniques for low-acid canning foods.
  • If you notice any difference in the stored container, such as building, cracks, or discoloration of the food, immediately through it out as it might be botulism. Sometimes, you cannot even sense the odor, so be careful.
  • Lastly, if you have opened a canned food and are unsure if you can finish it within the same day, it is preferable that you immediately refrigerate it. This will prevent any food spoilage and keep it safe for some more days.

Why Is It Dangerous To Can Vegetables At Home