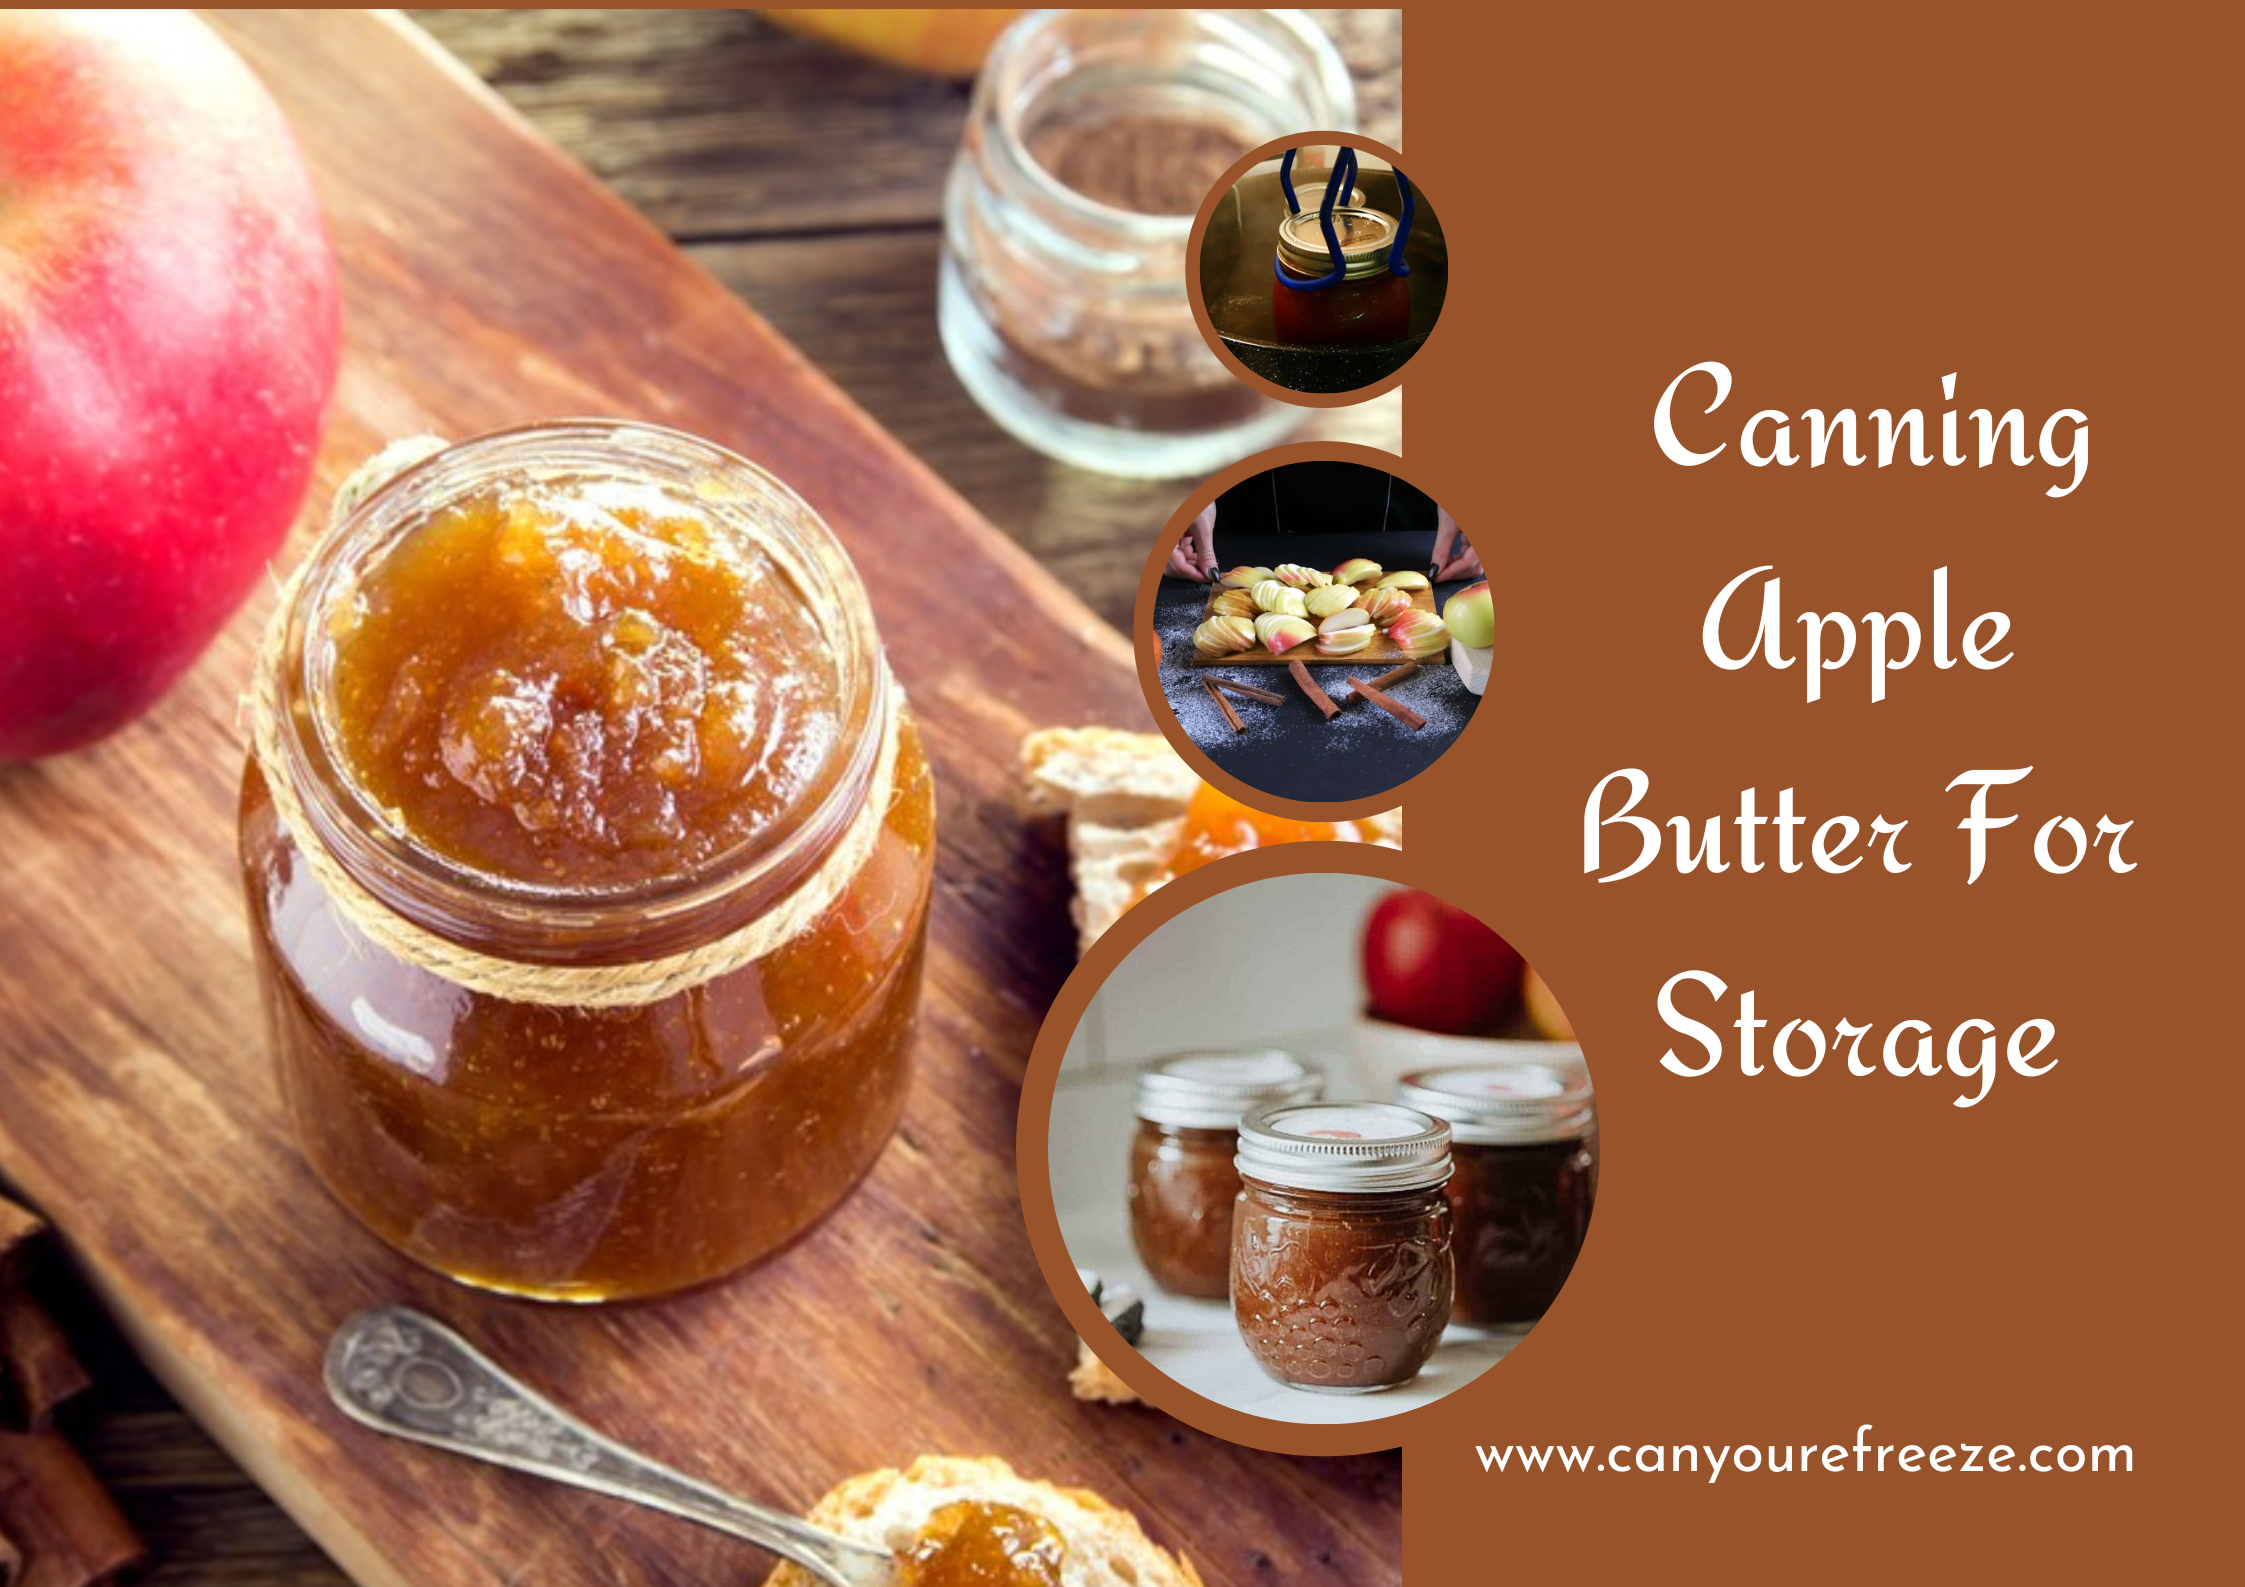
Canning The Apple Butter
Apples are seasonal fruits and therefore cannot be harvested throughout the year. You must be buying apples in bulk from your supermarket visits and store them at your home. You must also be making different recipes with apples, right?
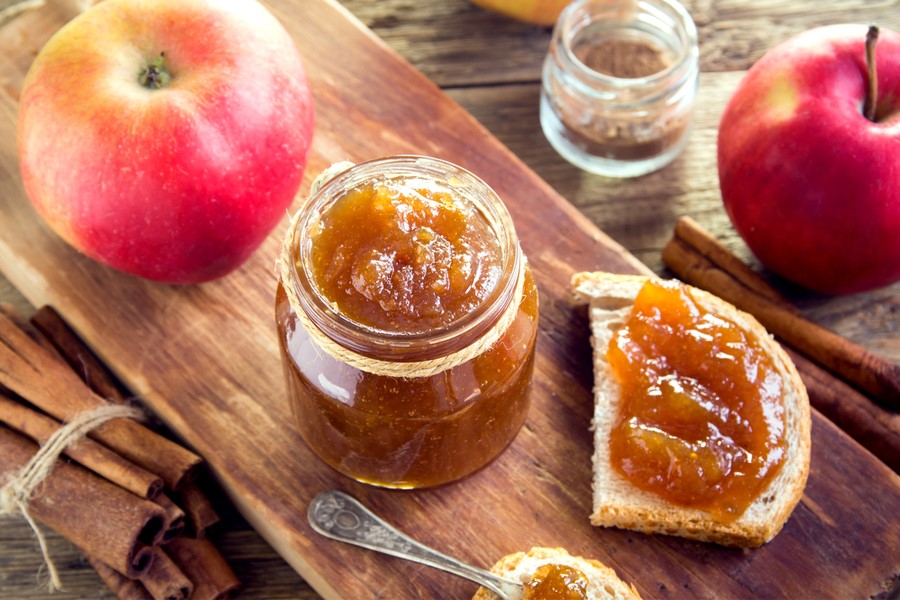
Apple butter is one of the most common recipes that is made from freshly harvested apples. And why not? Making the apple butter also means preserving the harvested apples for longer. But like apples, homemade apple butter also has an expiry period. So can you store apple butter for longer?
Yes, you can store apple butter for longer by canning. Canning apple butter is one of the most popular ways of preserving the food item for later use. This not only increases the shelf life of apple butter but also ensures you have year-round availability of the butter at your home.
Apple butter is a delicious sweet-savory that can be paired with a lot of other recipes. Not only this, but it is also healthy to eat because apple butter is a low-sugar dish. You can easily make the butter at home. But before that, check out the steps for canning apple butter for preservation.
Steps For Canning The Apple Butter
Apple butter can be easily canned using the water bath method. But you need to make sure you have all the required equipment for the canning process. Also, you need to ensure that you follow each and every step carefully, otherwise, the apple butter will not preserve well.
Another important factor that needs to be taken care of while canning apple butter is the time limit is each step. You have to follow specific timings while preserving apple butter. Check out the detailed steps for storing your apple butter in canning jars.
Preparing The Canning Supplies
Now you know that apple butter can be canned using the water bath canner method. And for that, you need particular canning supplies. Check out the list of all the required supplies below.
- A water bath canner
- Two large saucepans
- Canning jars- preferably smaller jars
- Jar lids and bands
- Canning funnel, ladle, and jar lifter
These are the important supplies that you need to gather before beginning the canning process. Other than these, you will need basic kitchen supplies such as an apple peeler, strainer, mixing bowl, spoons, and knife. You will also need towels.
Preparing The Jars For Canning
Check for cracks and nicks in the jars and wash them in hot soapy water. You need to sterilize the jars before storing food items in them. Some methods say that sterilizing the jars is not important, but it is always better to do so. This is because sterilizing will prevent bacterial growth in the jars, and keep stored food safe.
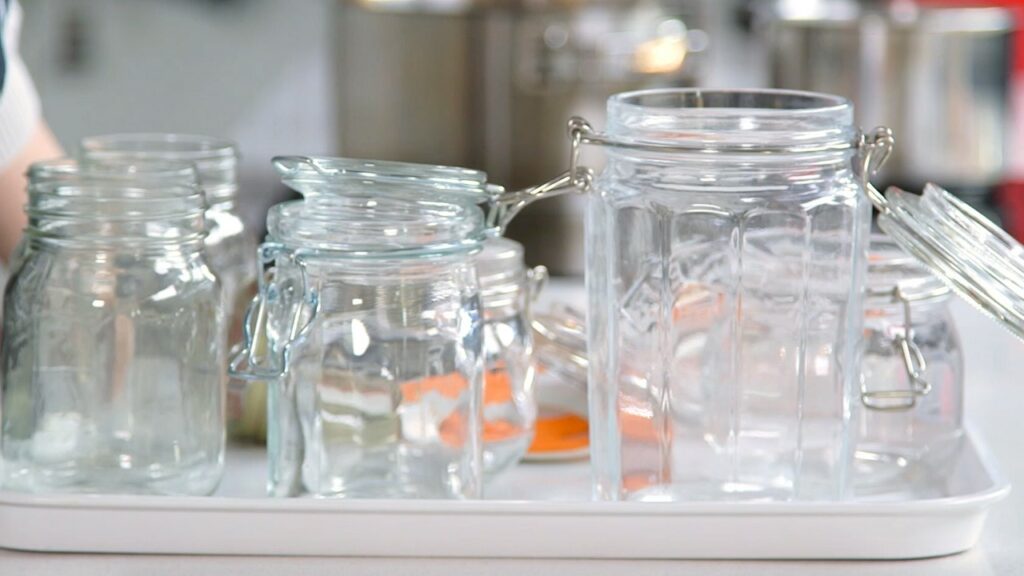
To sterilize the jars, fill a large saucepan with water and bring it to a boil. Place the jars upside down in the water until completely submerged and let them process for about 10 minutes. Do the same with the jar lids and bands.
After 10 minutes, turn off the heat and let the jars remain in the warm water for some time. You can then drain the water and place the jars on the counter to dry. You can also wipe off the extra water with a clean towel. This will be enough to sterilize the jars.
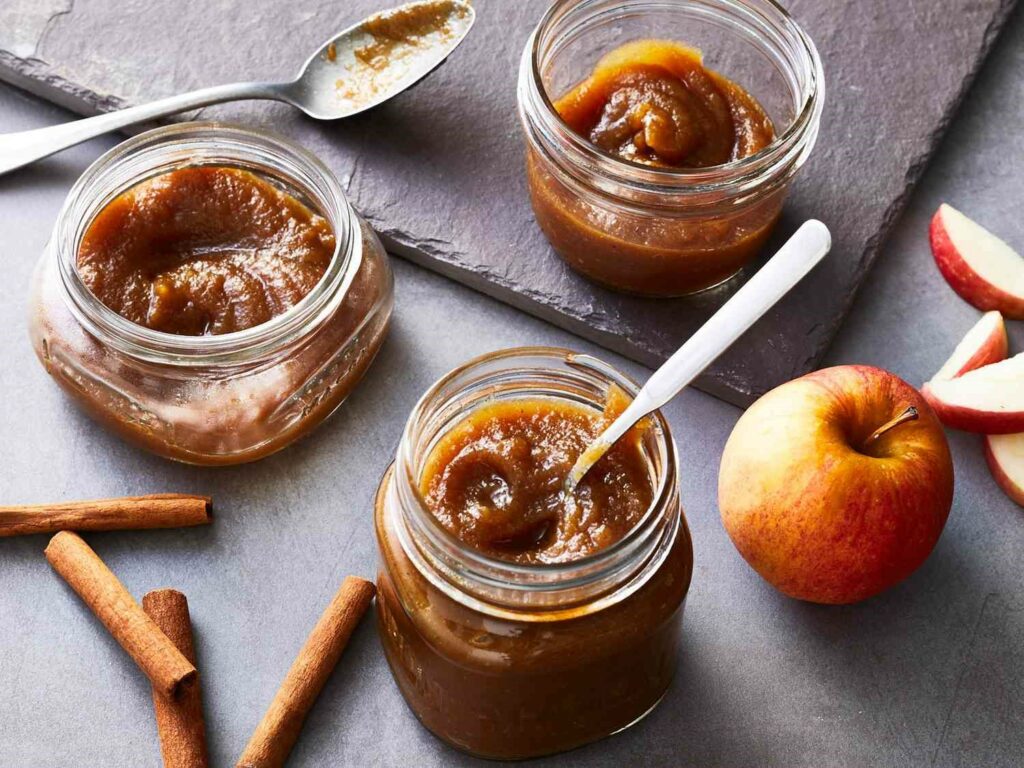
Fill The Jars With Apple Butter
Take the jars and wipe off all the extra water. Use a ladle and fill them carefully with apple butter. It is better if you use a canning funnel to fill the jars. This will make the task easier and prevent spoilage. Do not fill the jars to the brim, leave an inch of headspace.
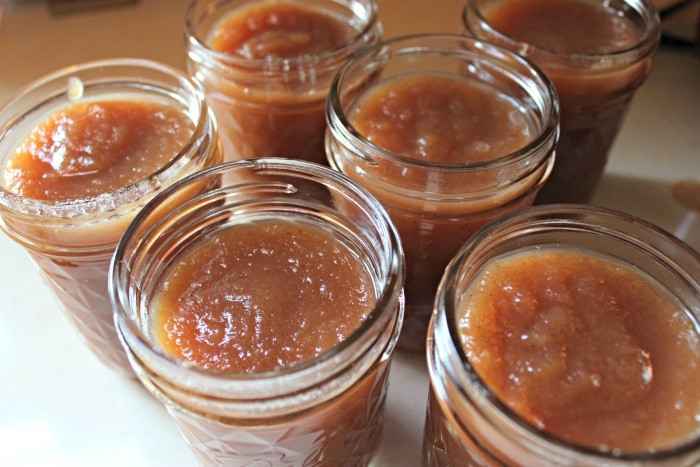
Use a spoon to mix the apple butter and tap the jar a couple of times. This will remove the bubbles. Use a clean towel to wipe the rim of the jars of any apple butter, and close the jars with particular lids and bands.
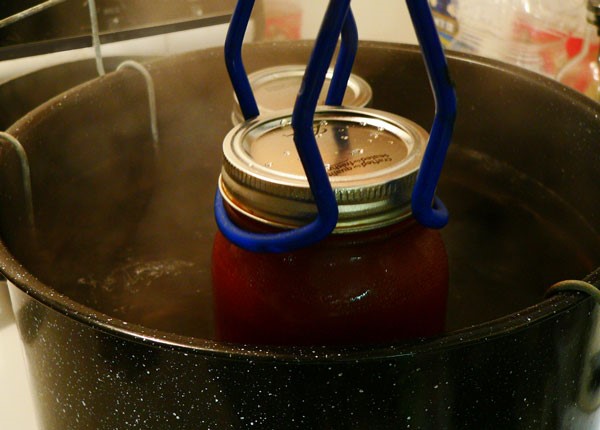
Processing The Jars In A Water Bath Canner
Fill the canner with water and bring it to a boil. Once the water is hot enough, lower your apple butter jars carefully into the water bath canner using a jar lifter. Process the jars in the canner for about 10-15 minutes and turn off the heat.
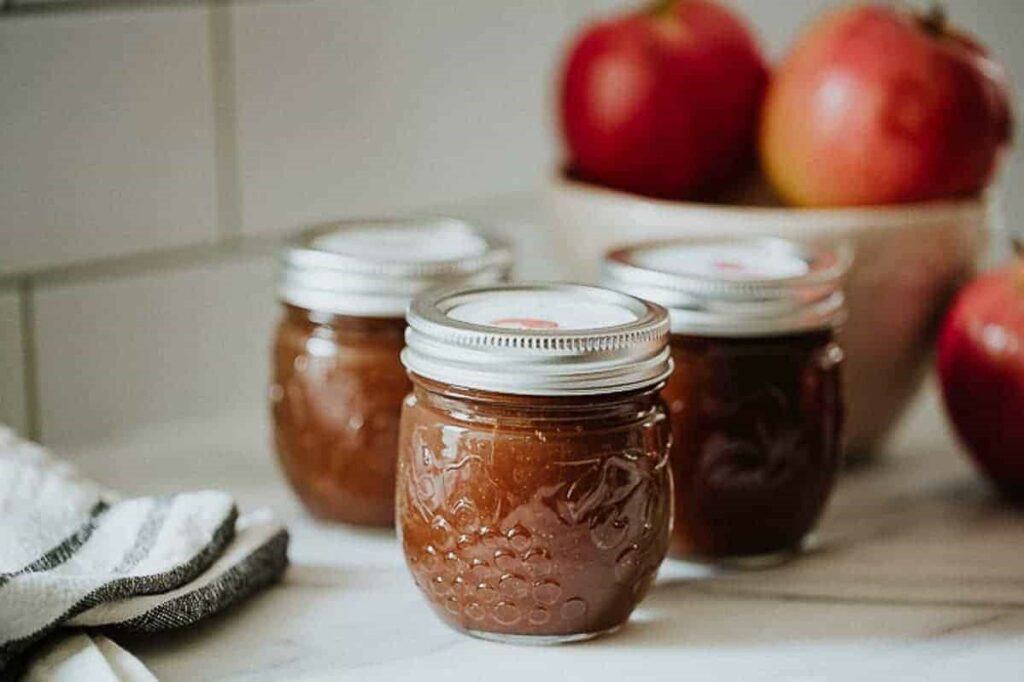
Let the jars sit in the hot water for about 5 minutes before you remove them from the canner. This will be beneficial in maintaining temperature shifts. Place the processed jars on a clean towel as this will soak up the water.
Let the jars of apple butter sit undisturbed for 12 hours in a dry place. Next, check the sealing of the jars. If you think they are not sealed enough, you can keep them in the freezer for a few more hours. This will be enough to seal the canning jars adequately.
Once all of the above steps are fulfilled, your apple butter is ready to be canned effectively. Store them in a cool and dry place, and enjoy the apple butter throughout the year.
Tips For Storing Apple Butter
Now that you know the steps for canning apple butter, check out the below-mentioned tips for the best results of storing apple butter for later use.
- Do not add water to the apple butter while preparing them, as the apples will release their own juice in the cooking process, and that will be enough to store the apple butter.
- You can add spices such as cinnamon to the apple butter while canning them. This will only enhance the flavor and will be safe to store for longer.
- Use wide-mouth jars or jam jars to store apple butter. This will be beneficial later to scoop out the apple butter from the jars later when you consume them.
- Apple butter is not something that is eaten in large quantities. Therefore, it is better if you use smaller jars to preserve them. This way you will avoid food wastage.
How Long Will The Canned Apple Butter Recipe Last?
Canned apple butter will last for up to 12-18 months when stored adequately in a cool and dry place. For the apple butter to last longer, you also need to ensure correct steps are being followed while canning the food.
How To Make Apple Butter?
Making homemade apple butter is one of the best possible ways of preserving apples. You will also not find apple butter in stores, so it is best to make them at home. The apple butter recipe is easy but takes time.
Making apple butter at home will surely fill your house with its delicious aroma of apples and spices. Check out the steps here to make apple butter at home.
Ingredients you need to make the butter:
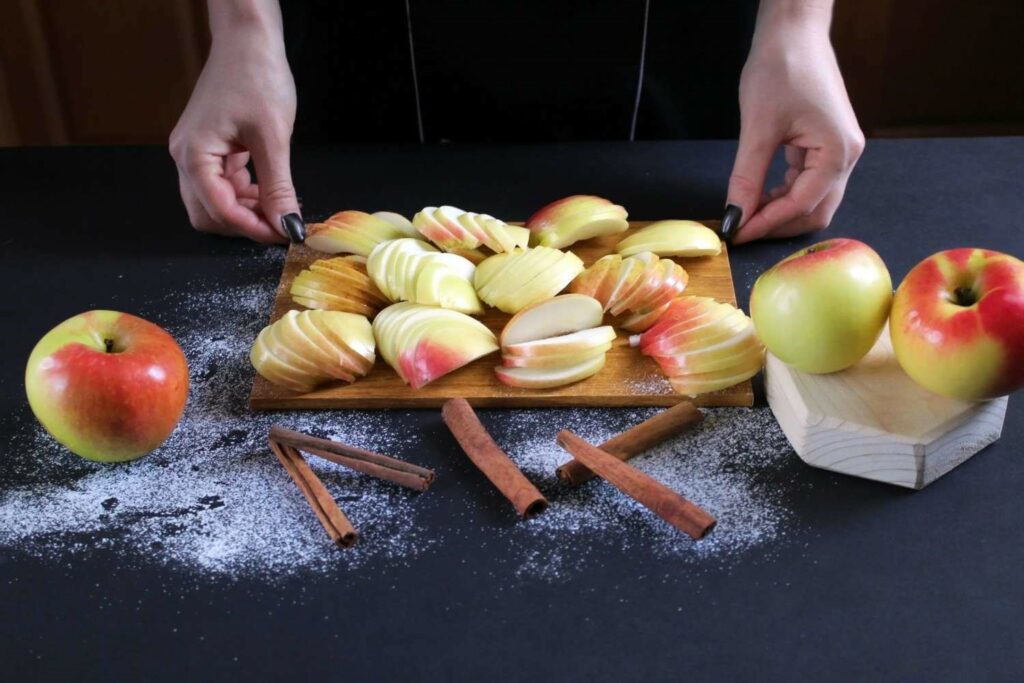
- Freshly harvested apples, preferably Granny Smith
- A cup of apple cider vinegar
- 2 cups of water
- Sugar as required and a pinch of Kosher salt
- Cinnamon, ground clove, allspice
- Lemon juice and lemon zest
Recipe to make apple butter:
- Wash the apples thoroughly under running water and drain them. Take a sharp knife and cut the apples into four halves. You do not need to peel them.
- Transfer the cut apples to a large pot, add apple cider vinegar, and water, and bring it to a boil. Cover the pot and cook for about 20 minutes or until the apples turn soft.
- Drain the cooked apples from the water and push them through a sieve to take out the pulp. Transfer the pulp to a mixing bowl and add the sugar, spices, and lemon.
- Place the apple mixture on a stove and turn on the heat. Add a pinch of salt and cook the apples on medium-low heat. Stir the mixture often.
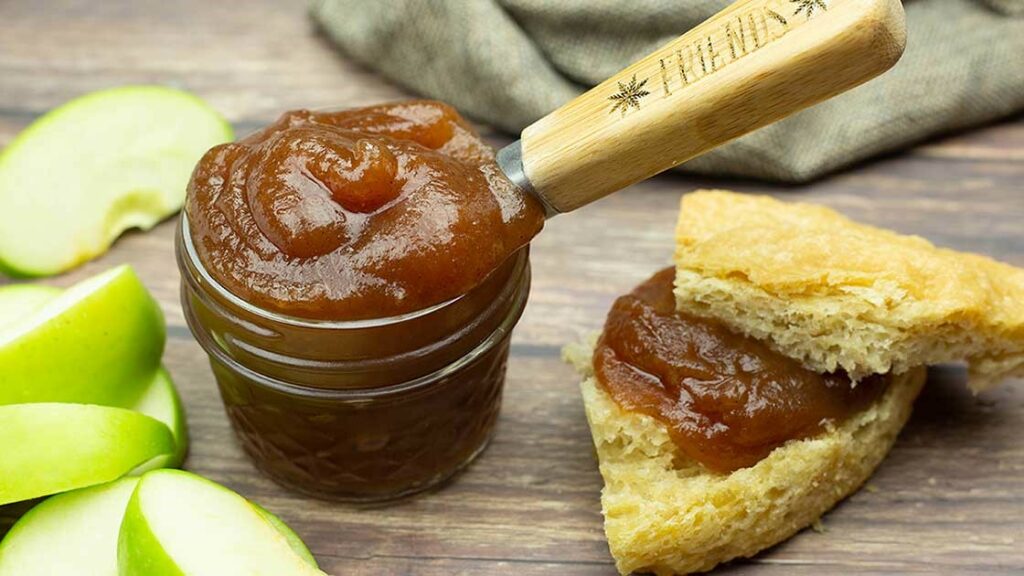
- You will need to cook the mixture for about 1-2 hours until it turns thick and dark brown. And your apple butter is ready.
Ways To Use Homemade Apple Butter
You can use your apple butter in so many ways. The apple butter recipe pairs great with other recipes, so preserving apple butter is definitely a great idea. Check out a few ways of using apple butter below.
- Spread on toast and muffins.
- Mix with yogurt or oatmeal.
- Top on pancakes and waffles.
- Pair with cakes or cupcakes.
- Set out a bowl with other platters.
Summing it up, that was all about canning the apple butter. Now you know the best way to preserve apple butter and apples at home. So, the next time you are in doubt about what to do with the apple butter to make them last longer, just can them.